Monoprice Maker Select v2 3D Printer
I’ve recently acquired a 3D Printer, specifically the Monoprice Maker Select v2.
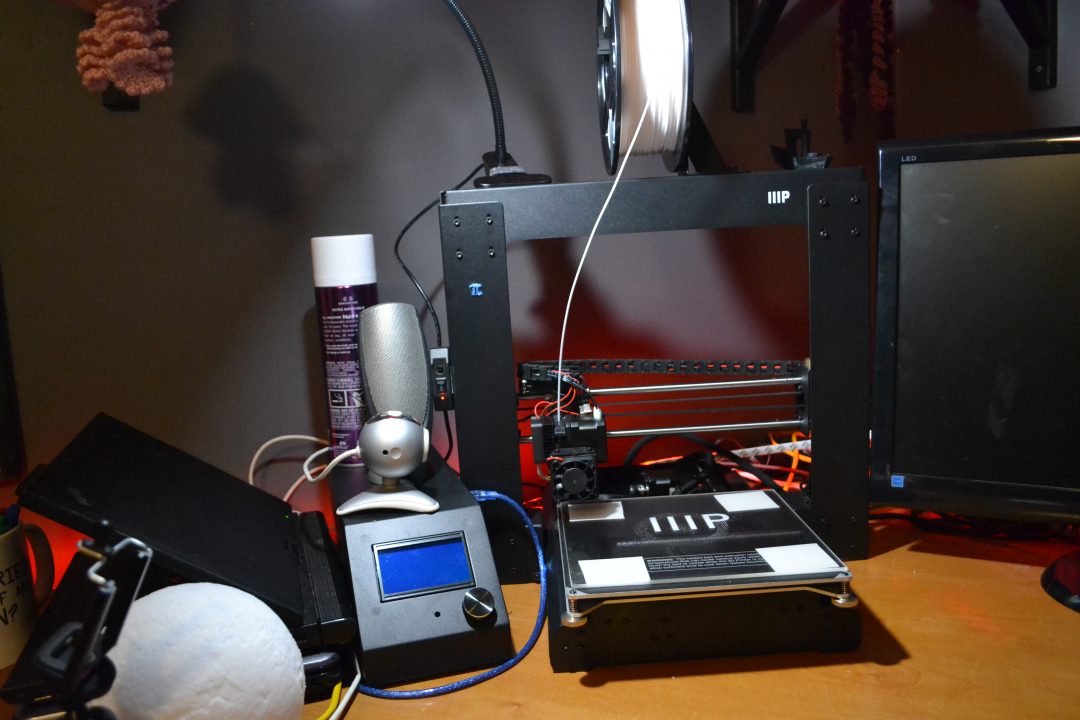
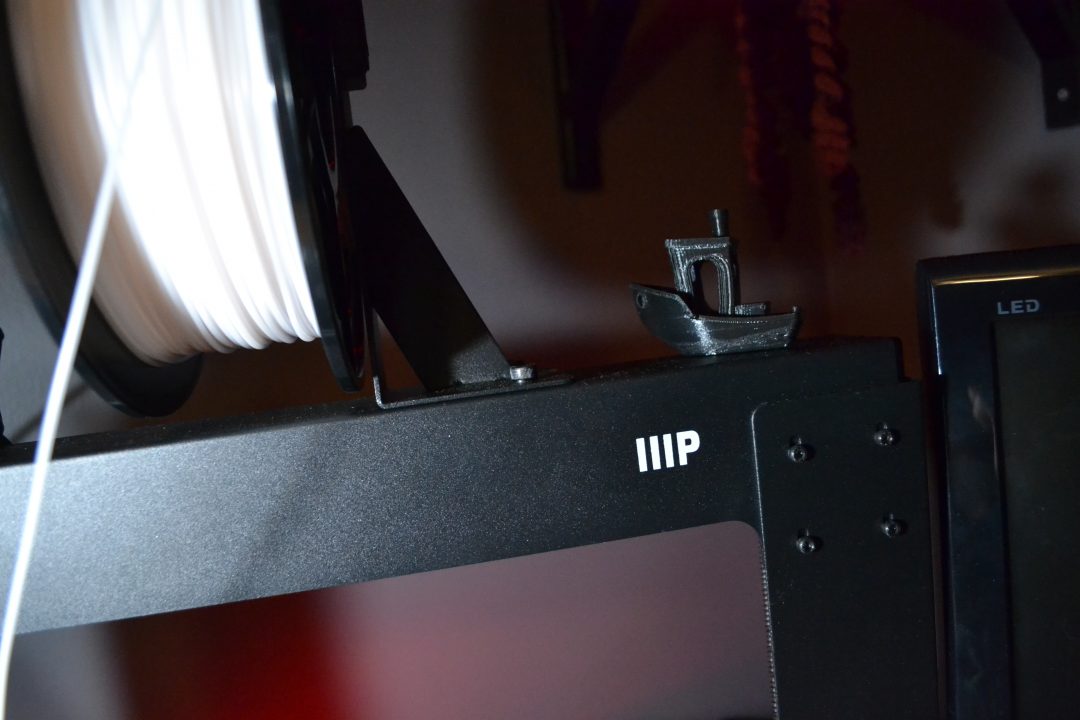
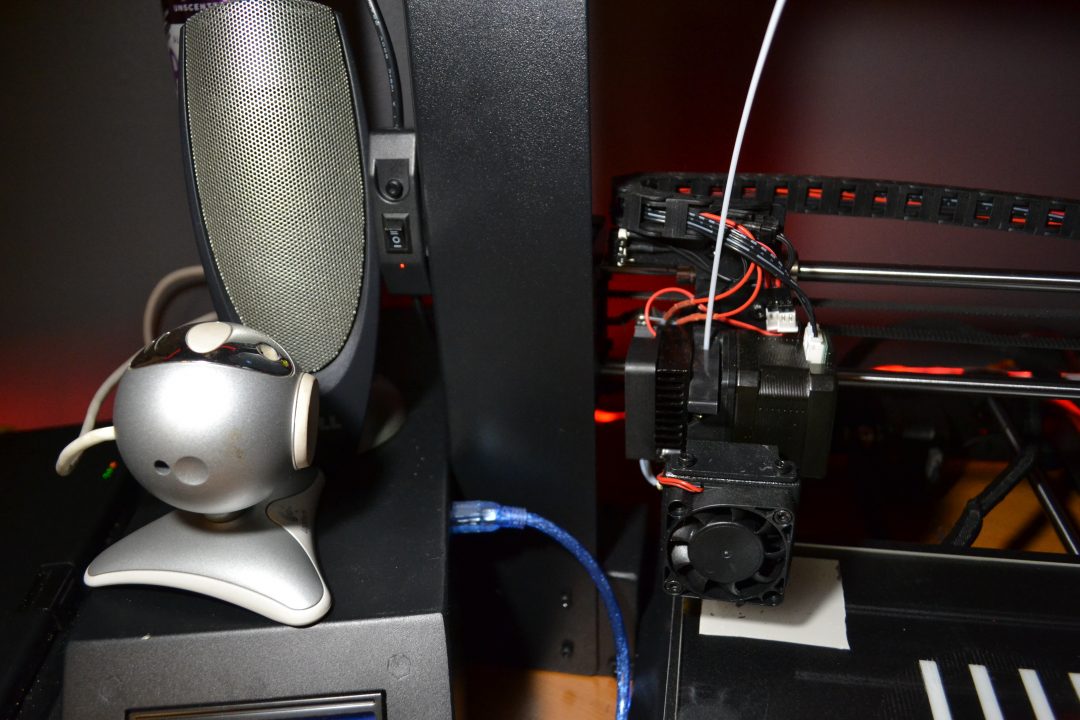
I’ve got it on my desk next to my monitor grid. In these pics, it has white PLA on it, a Benchy I printed, and a webcam pointed at it for time lapses and monitoring through Octoprint (on the laptop next to it)
However, this is one of the cheaper printers (only about $300) so some modifications were in order.
1. Heated Bed Mosfet
Without this, the connector for the heated bed would eventually burn up and destroy the connector and the connection, leading to a more difficult fix than if preventative measures were taken. This mod consisted of opening up the controller box, printing a mounting bracket (which should have been screwed on somewhere I’d imagine, but I couldn’t see how without drilling new holes, so 20lb double sided tape to the rescue) attaching a mosfet (small device that redirects the power through itself) to said mounting bracket, and wiring it to the power supply, heated bed, and control terminal. Then it was just putting it back together and testing. Now I can run the heated bed hotter than before. I usually use around 70c to get really good build plate adhesion. Without the mod, most people would either say don’t use the heated bed, or keep it below 50c to avoid burning up the connector.
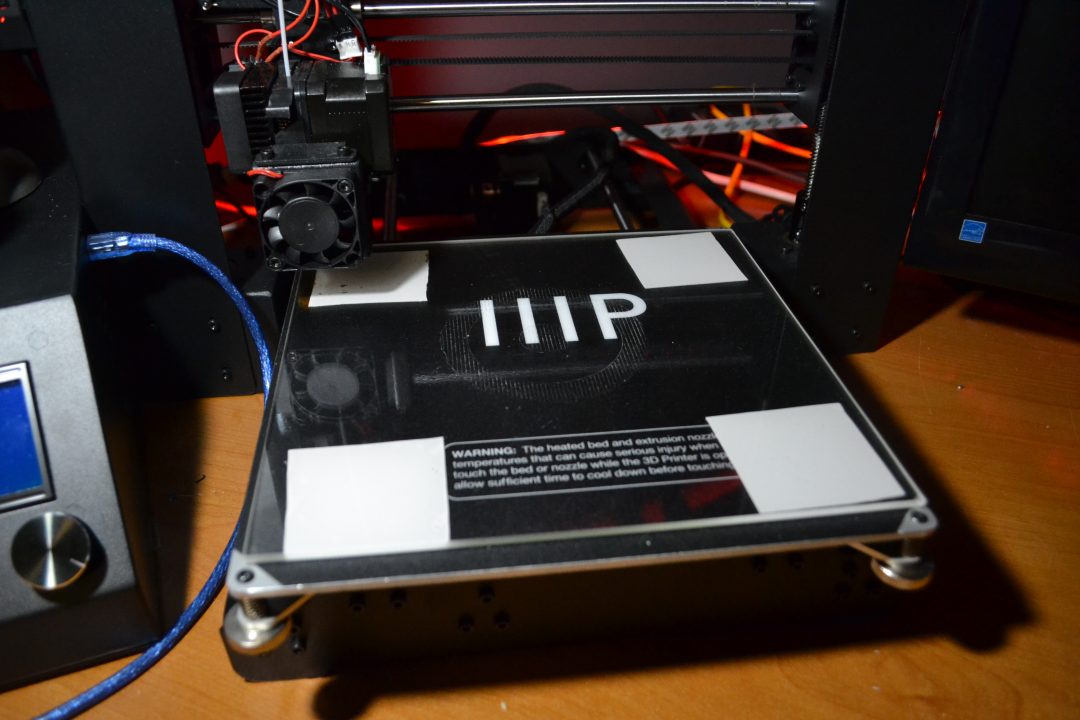
2. Glass Build Plate
Popular opinion is that glass is the best surface to print on for a few reasons, such as better adhesion (definitely not my experience), being perfectly flat, etc. This was as simple as cutting some silicone pads for it to sit on and to transfer heat, and laying the glass bed on top of the old one. I did need to adjust the minimum Z axis switch and raise it up a bit so that the extruder wouldn’t come smashing into the plate now that it’s a fair bit higher.
3. RepRap Champion Y Carriage Plate
A common issue is that the stock carriage plate (what the heated bed sits on, and how the plate is attached to the lower belt) warps over time, and makes leveling much harder. Hence, I bought an upgraded plate on Amazon that is much thicker and stronger. This should hopefully make my life easier in the future. ¯\_(ツ)_/¯
4. More to come eventually. There’s some significant Z axis wobble (the tower can rock back and forth way too much) that some day I’ll probably fix… Stay tuned.
Total cost of the mods was under $100 or so, bringing total cost around $400.
I also bought these different filaments so that I’d have some nice colors to work with. Cheap is my goal so these represent that 🙂
- Worksteel White PLA
- Worksteel Black PLA
- Worksteel Red PLA
- ZIRO Twinkling Blue PLA (Product page gone)
- ZIRO Marble PLA