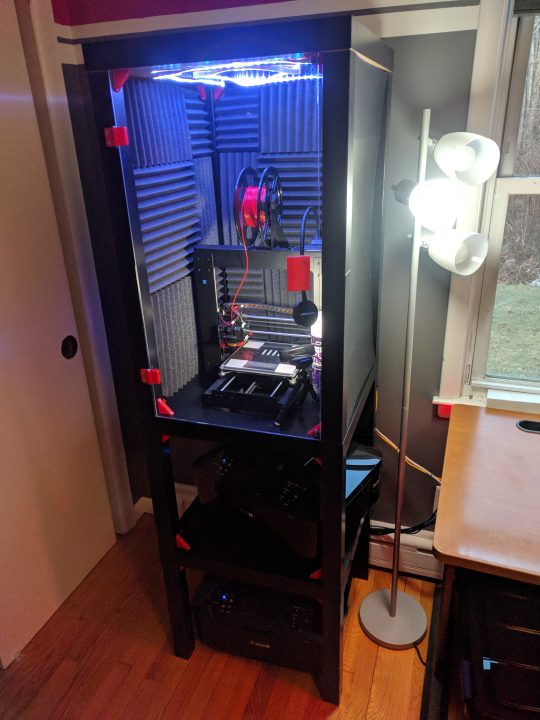
Possibly my first “big construction” project, this cabinet is built to hold my 3D printer, and my 2 regular printers below it. I used multiple references (see below) to design my own version with input from many different sources, and some parts from others.
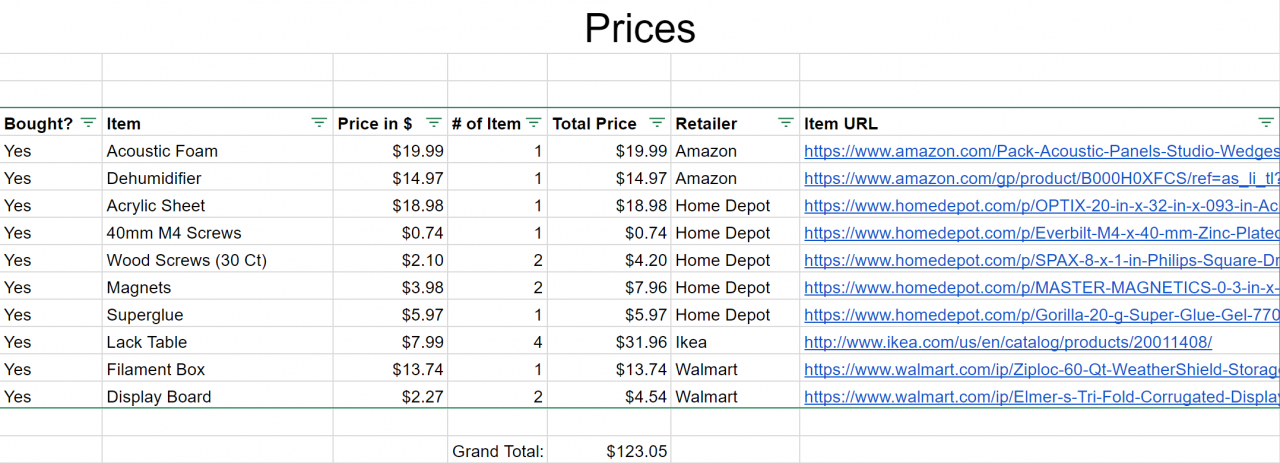
To help me, I built this spreadsheet (link fixed) with all the information I could gather, and a plan for what I wanted to do. Hopefully someone finds it useful in the future. 🙂
Here’s my post on Thingiverse with some files I used/modified.
Now, here’s a bit of the process from start to finish.
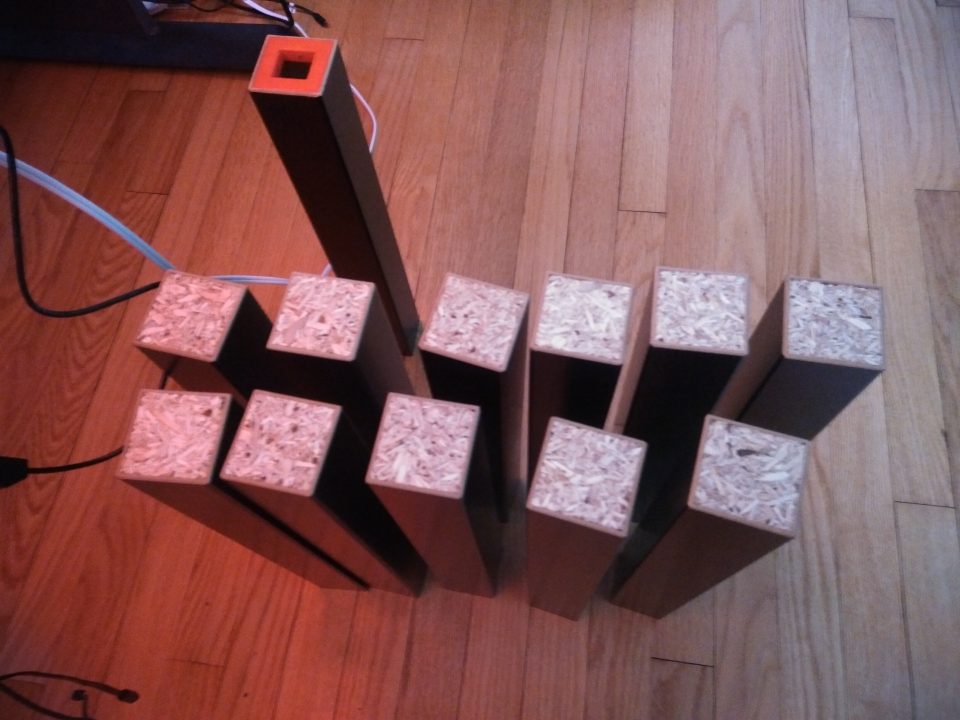
Firstly, off to IKEA to get the 4 LACK Tables. Then, remove all the bottoms of all the legs… except 4 as I later find out luckily not too late.
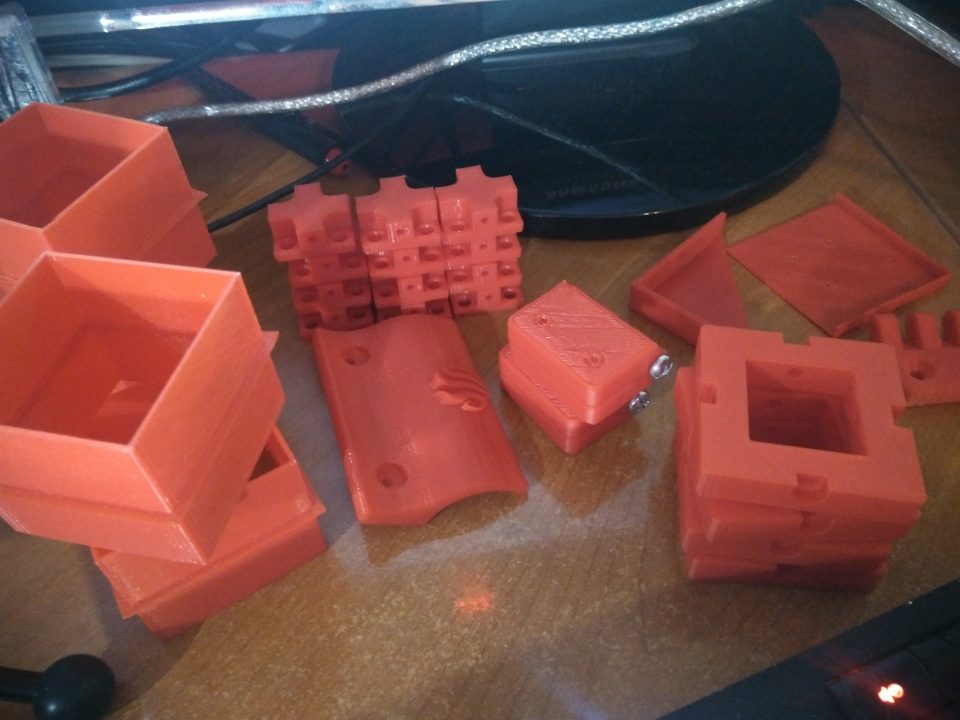
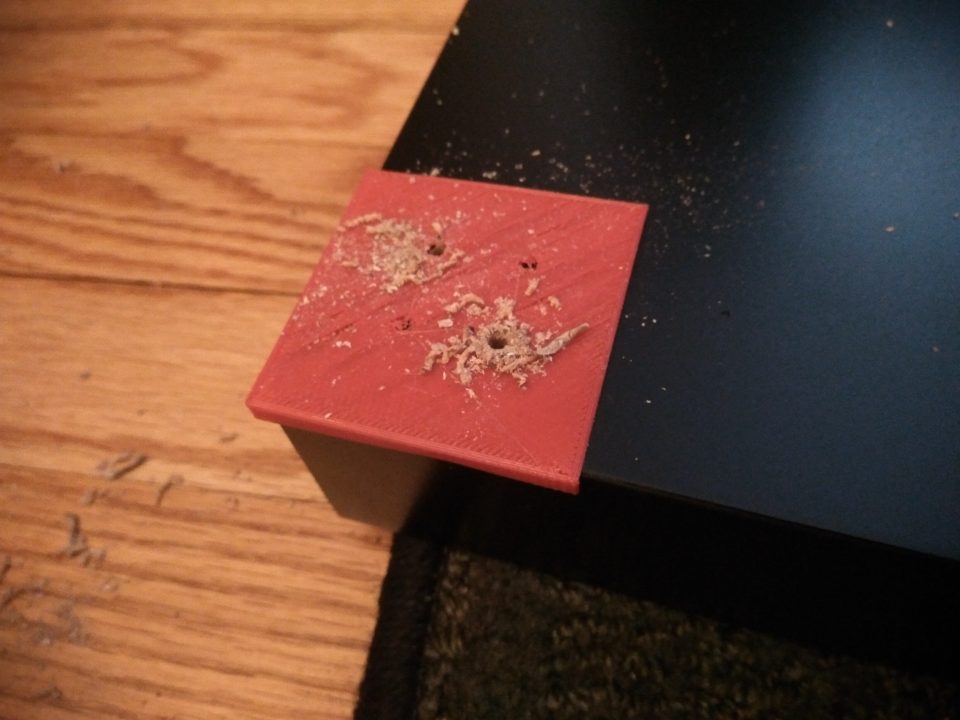
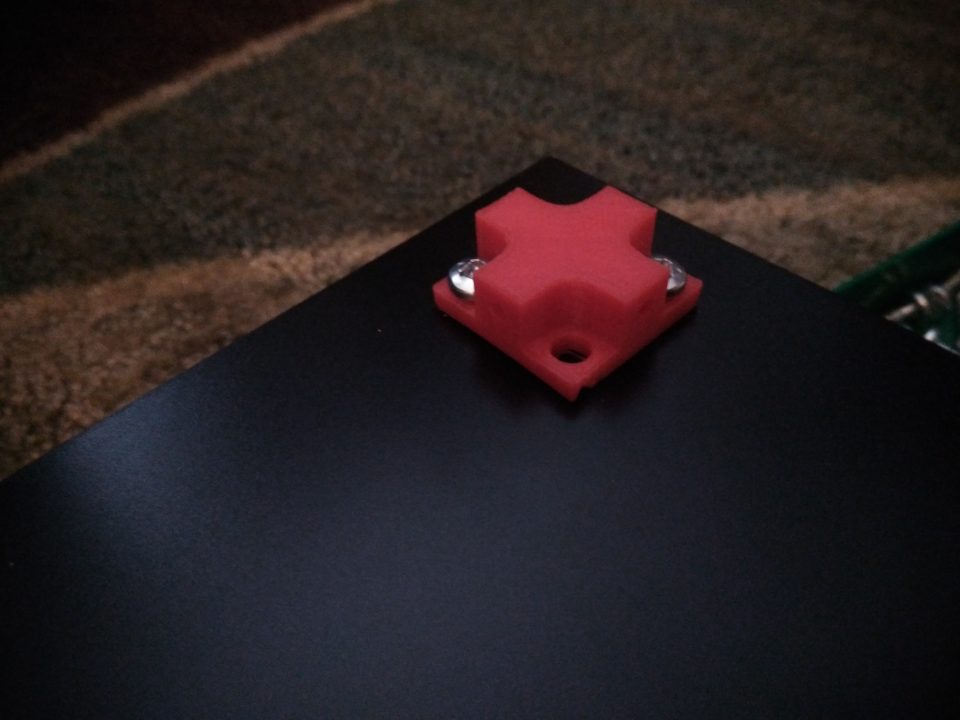
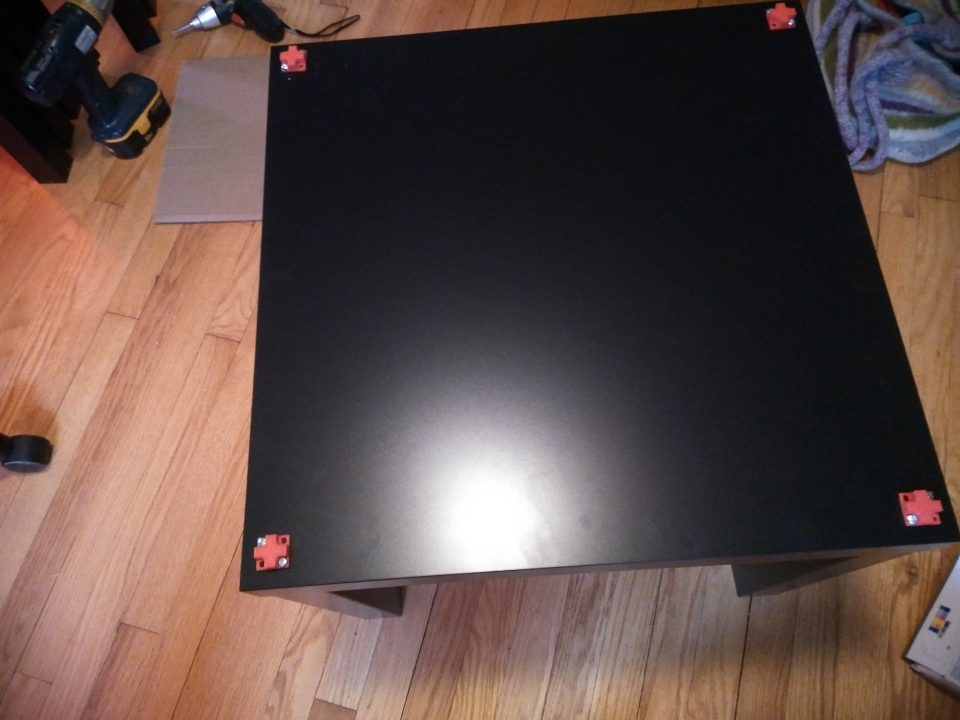
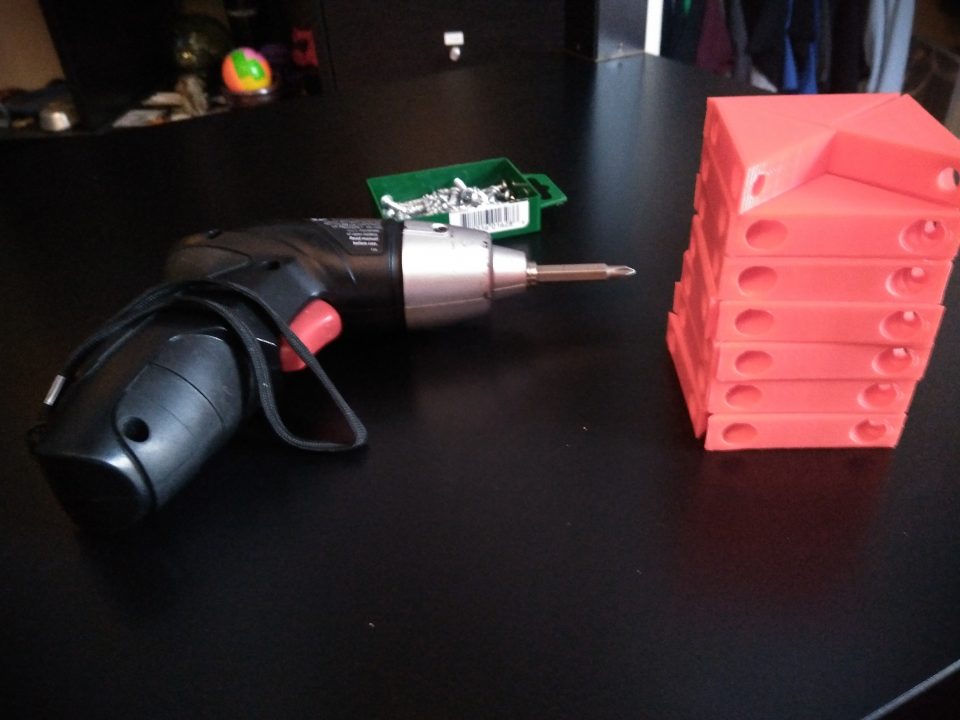
Needed to make lots of bracketsThis was used to drill holes into the table tops for the table joining connectors.Just like that
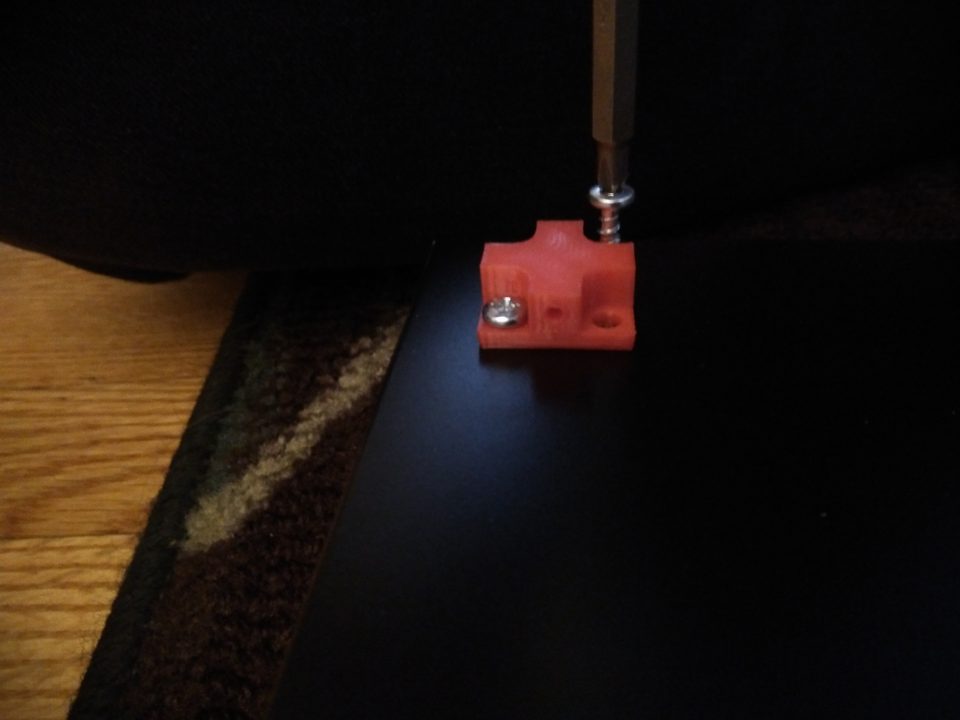
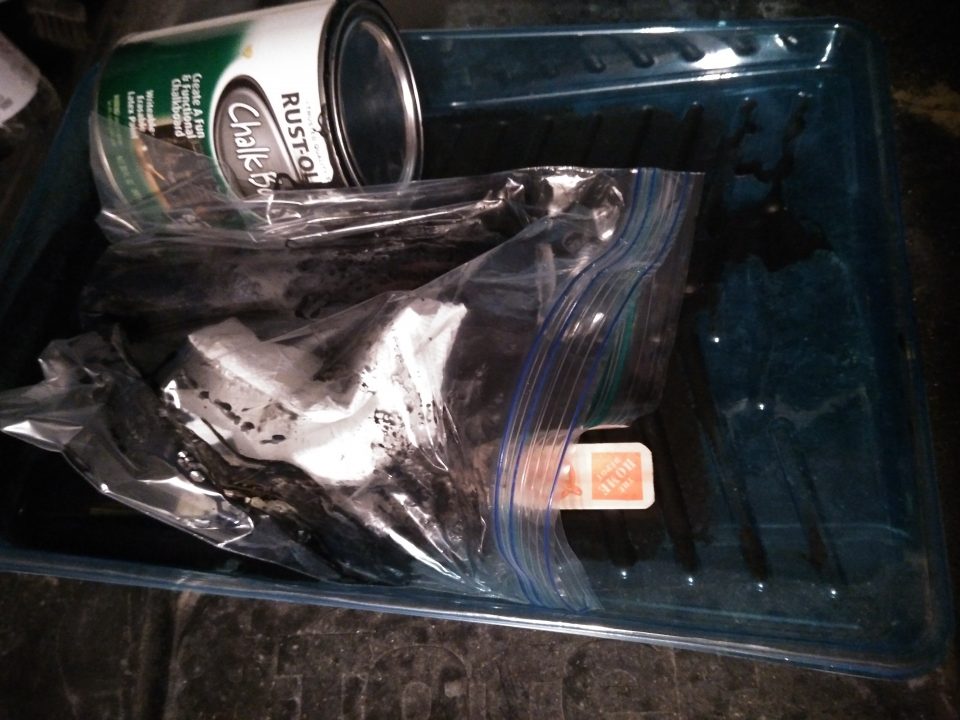
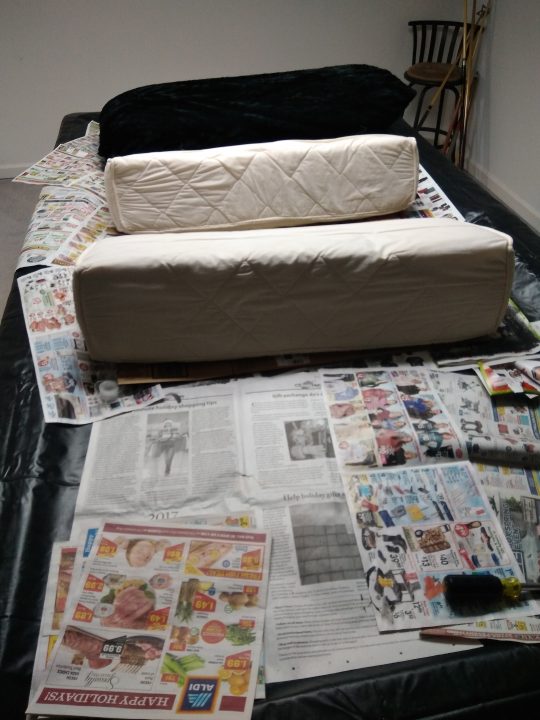
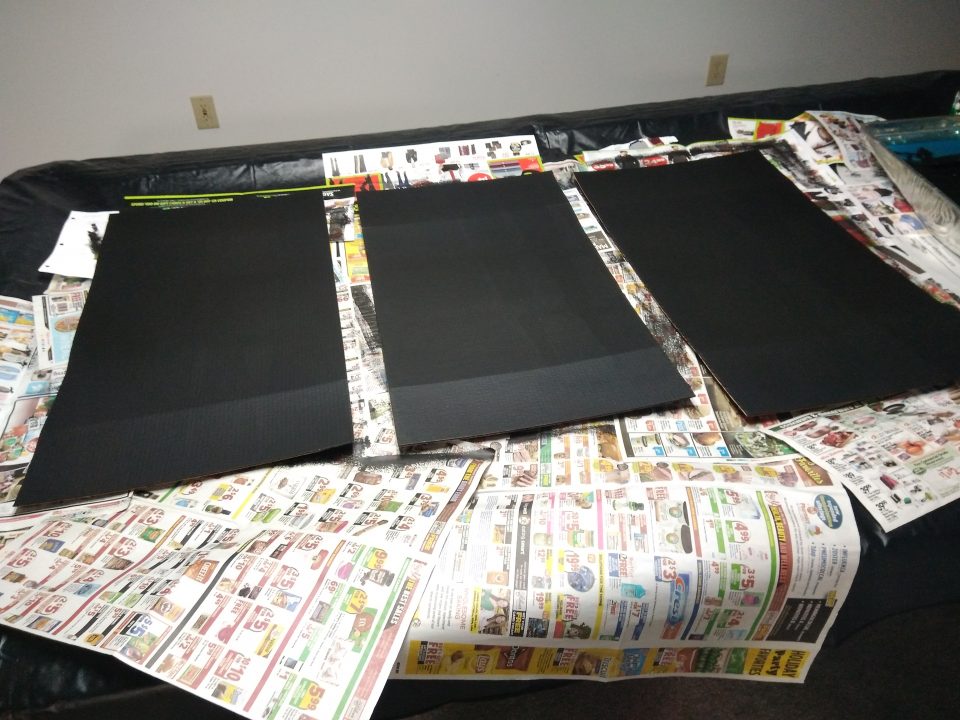
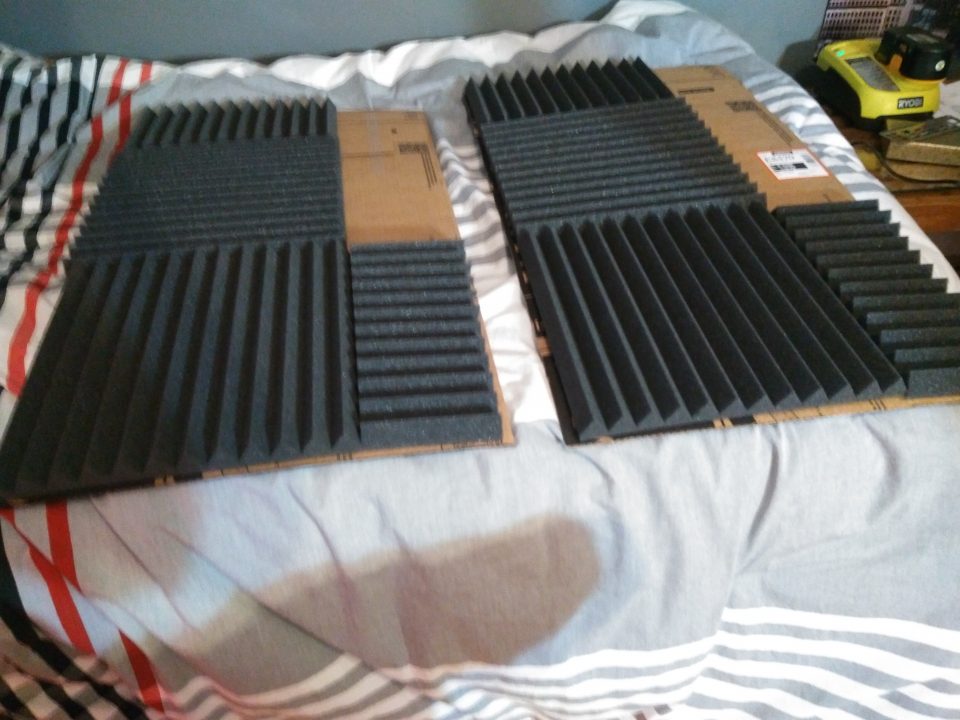
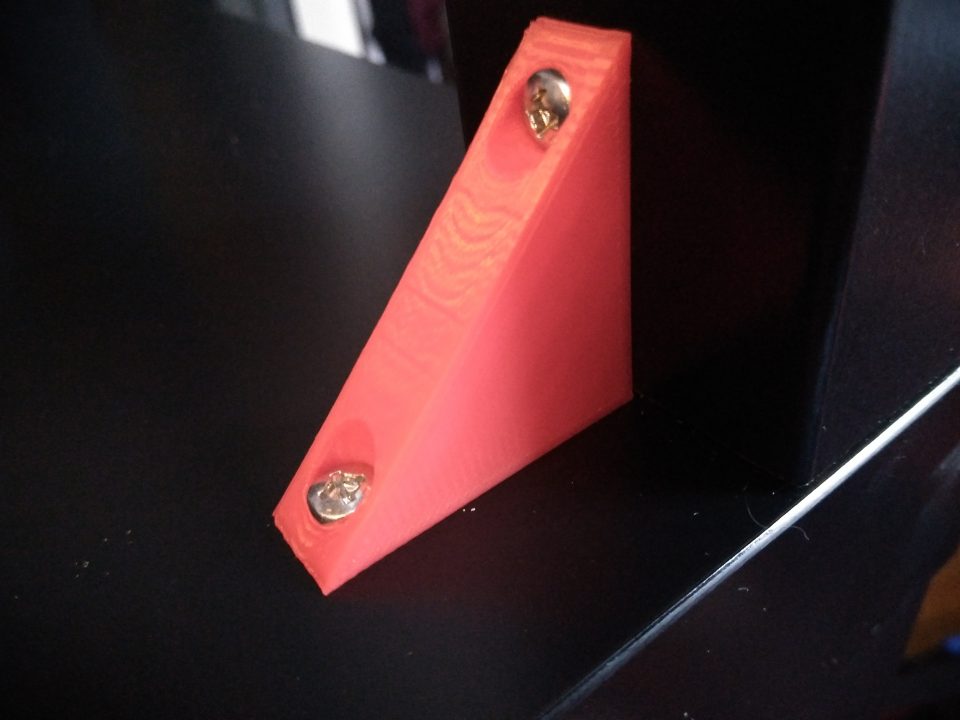
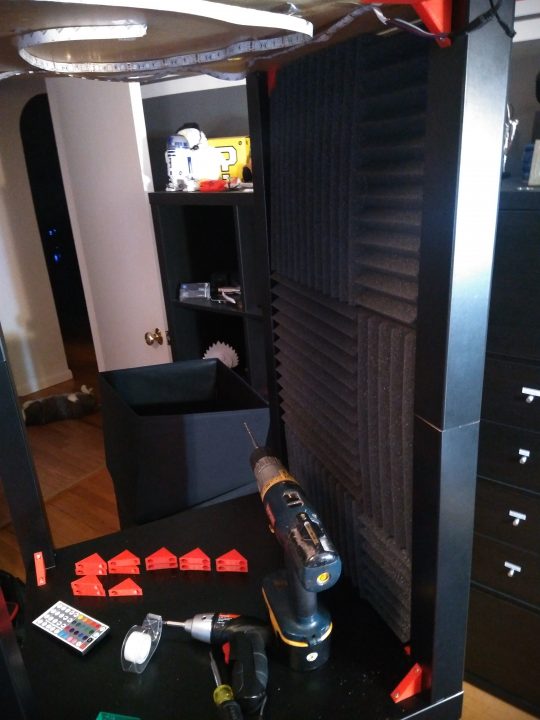
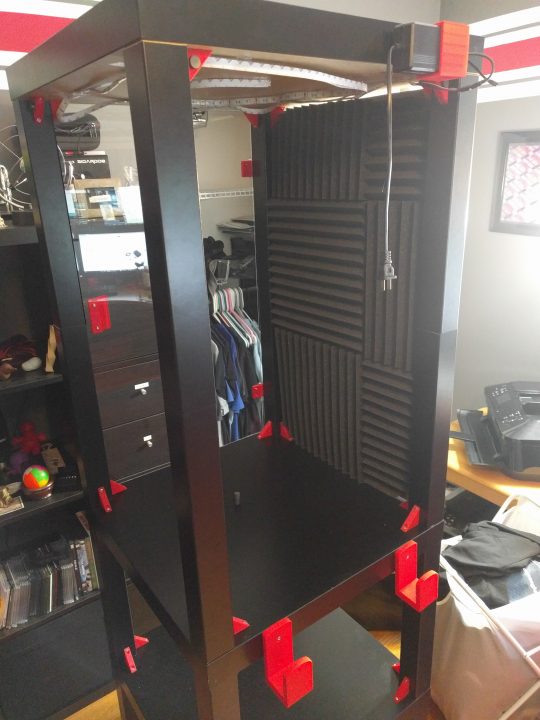
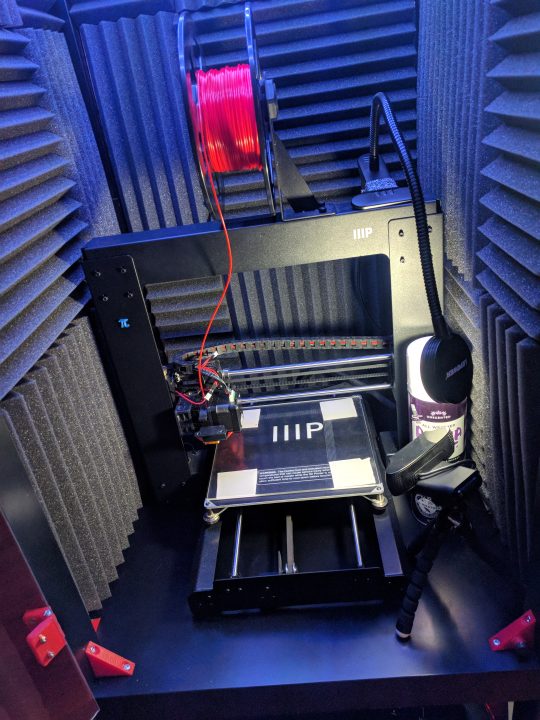
One for each corner of the table. The other table’s legs attach to these.Meanwhile, I was making some side panels that needed painting (chalkboard paint FTW) and plenty of drying time.Oops, realized they were warping as they dried… my best attempt to fix but they’re still warped to this day :/I think they came out not half bad lookingHot glued on some sound dampening foam for some noise reduction 🙂Got a nice little pattern going on tooOk this is a bit later, but basically I attached the legs and then screwed them together more with these (just the joiners alone weren’t super stable; these tightened it up a lot)
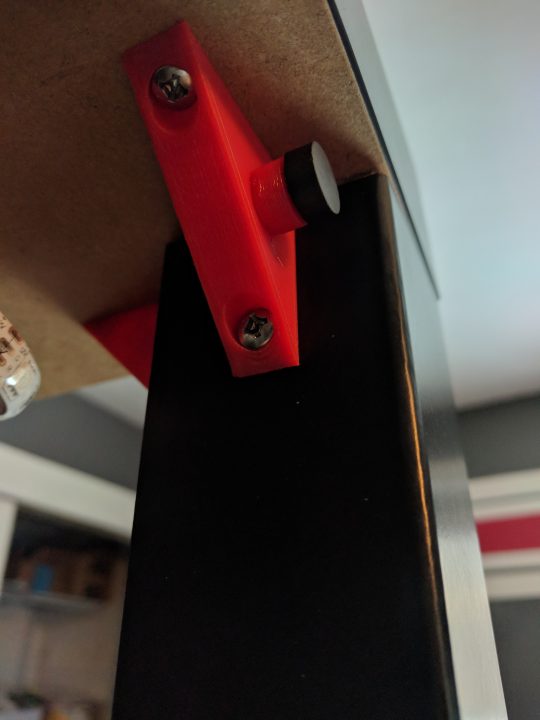
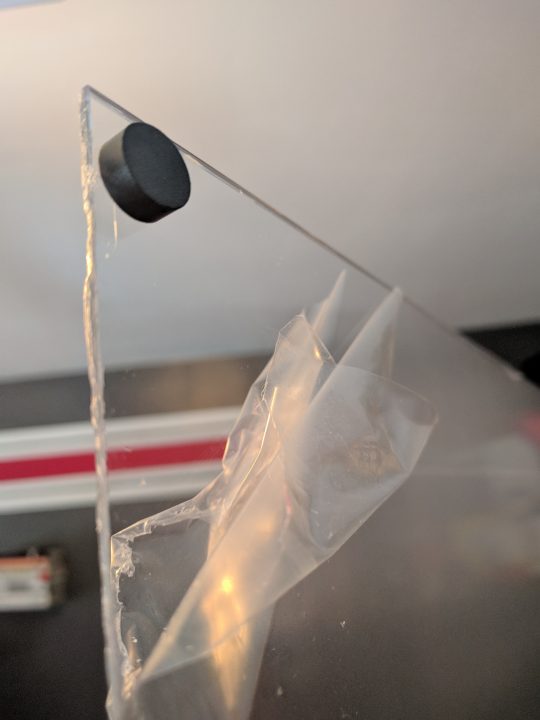
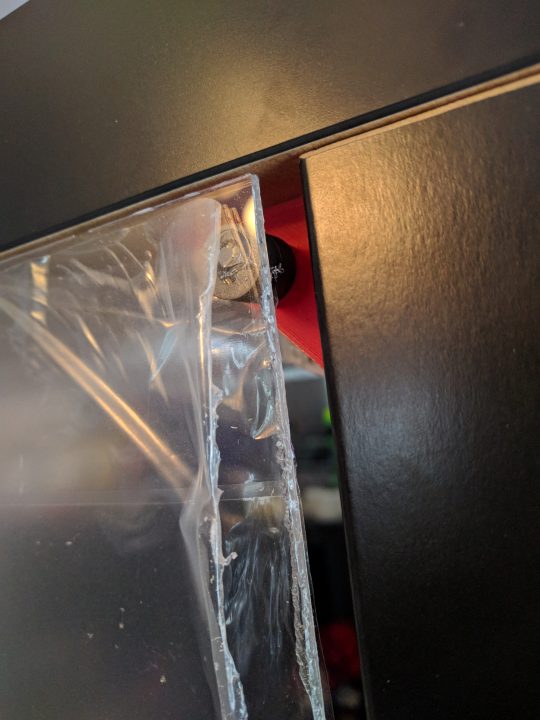
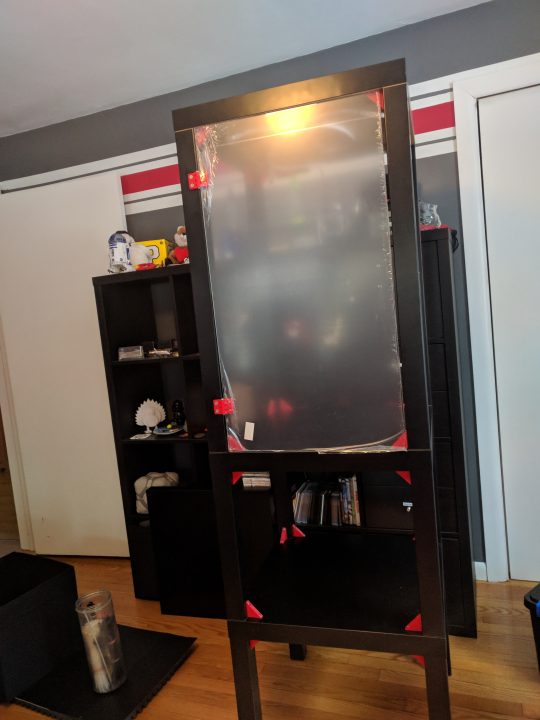
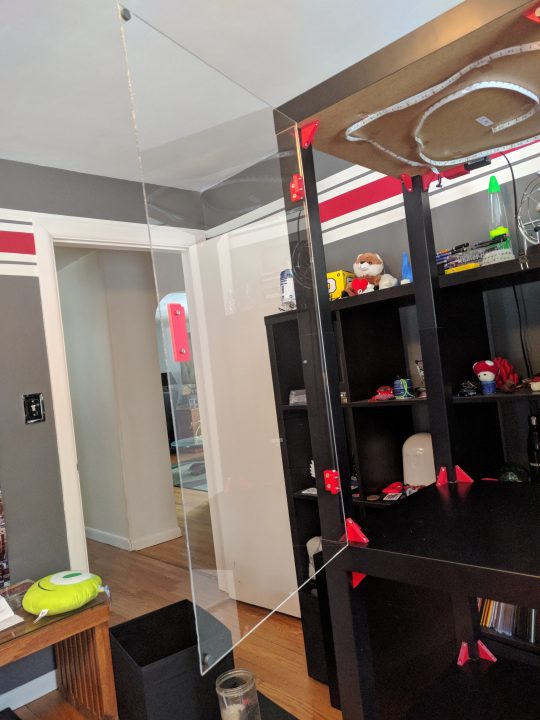
Test fit, had to make some minor size adjustments but not half bad. Magnets were glued to the corners of the boards and the red brackets so they can be easily removed if needed.
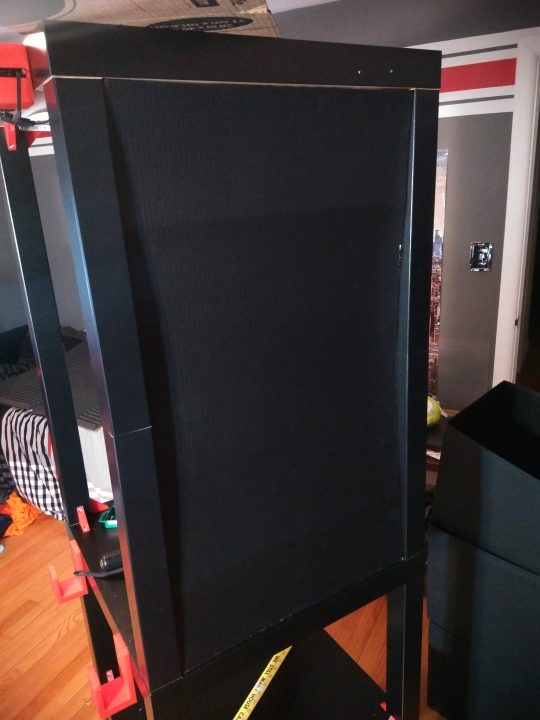
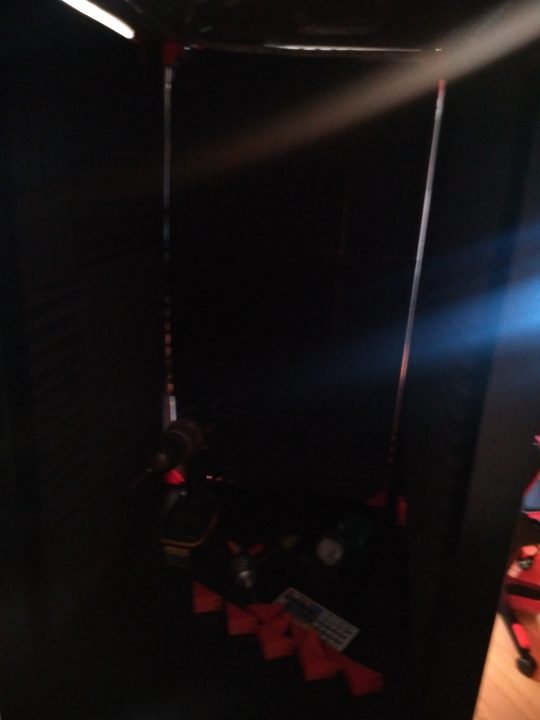
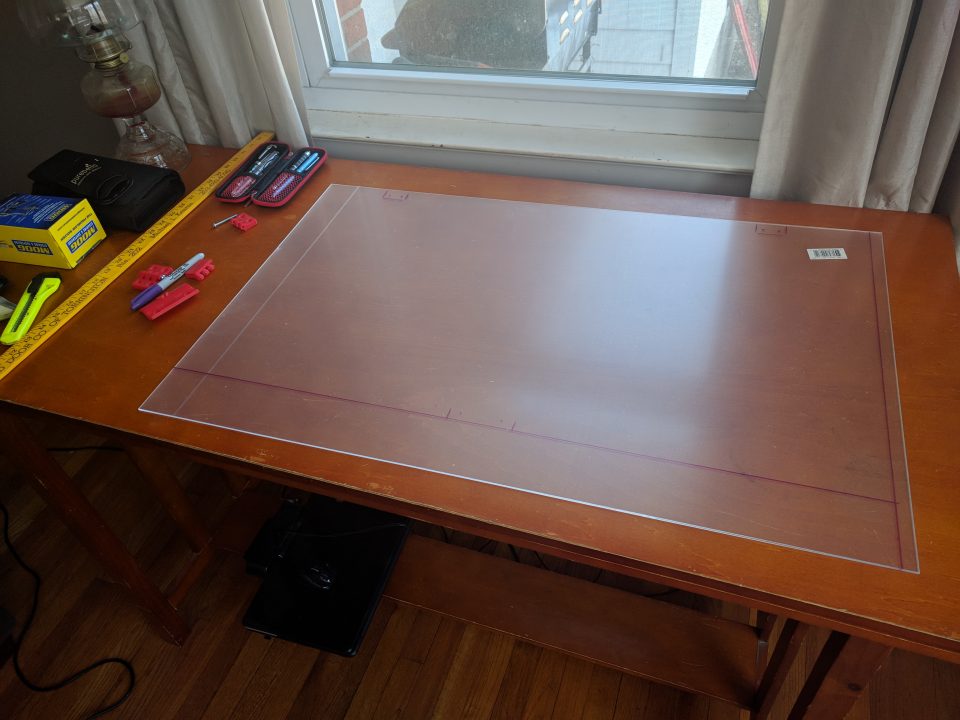
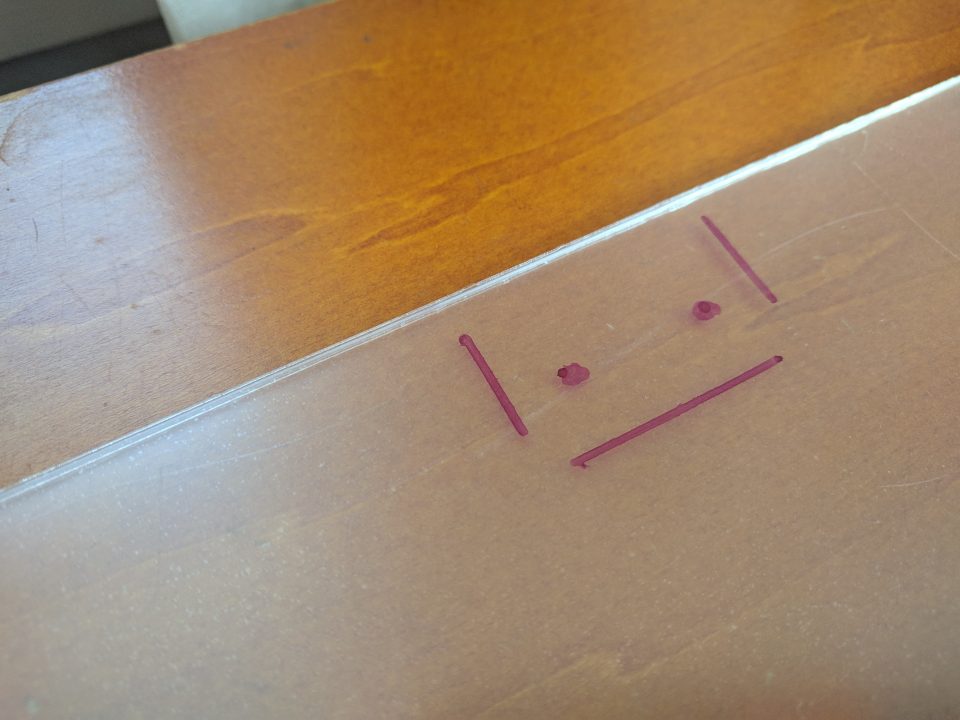
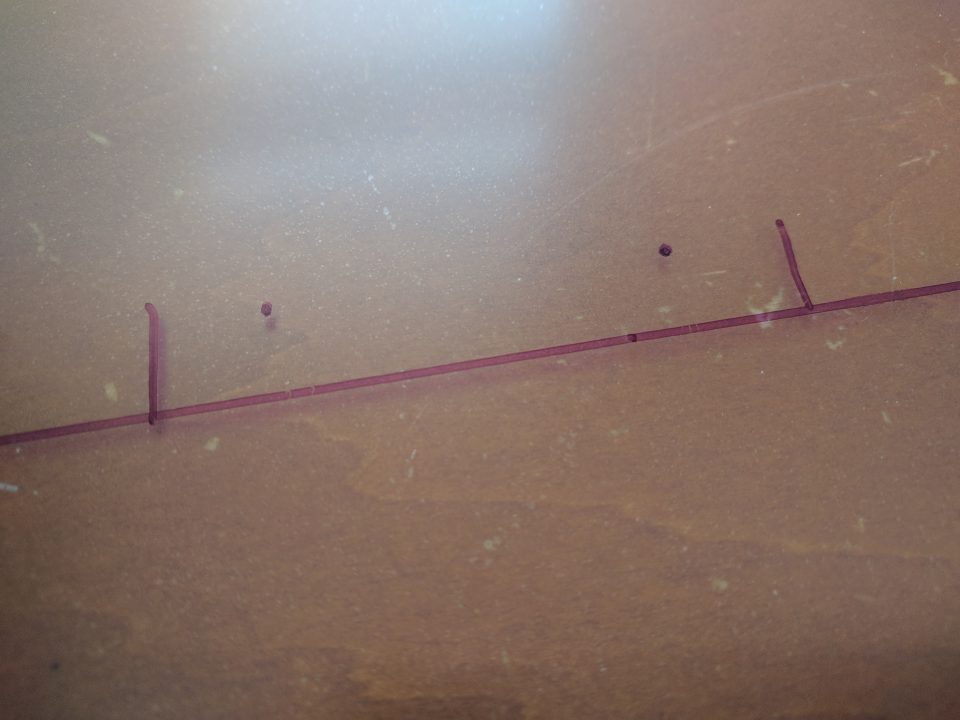
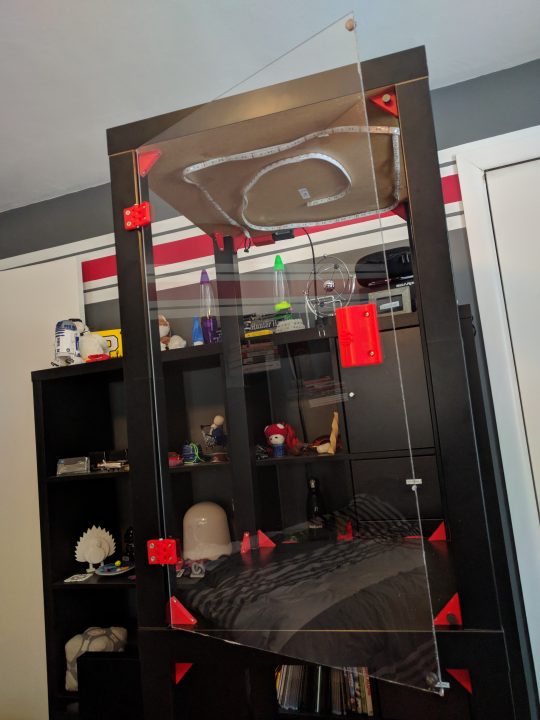
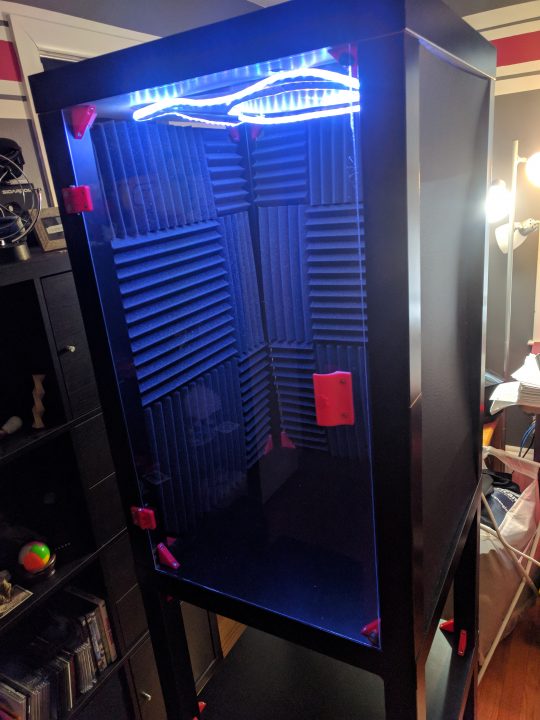
Not a very good photo (was in the midst of switching to a new phone so some photos are noticeably worse than others) but here’s 3 panels on. Nice and dark 🙂Switching gears again, working on cutting the front acrylic door. Making some marks before cutting and drilling holes:l
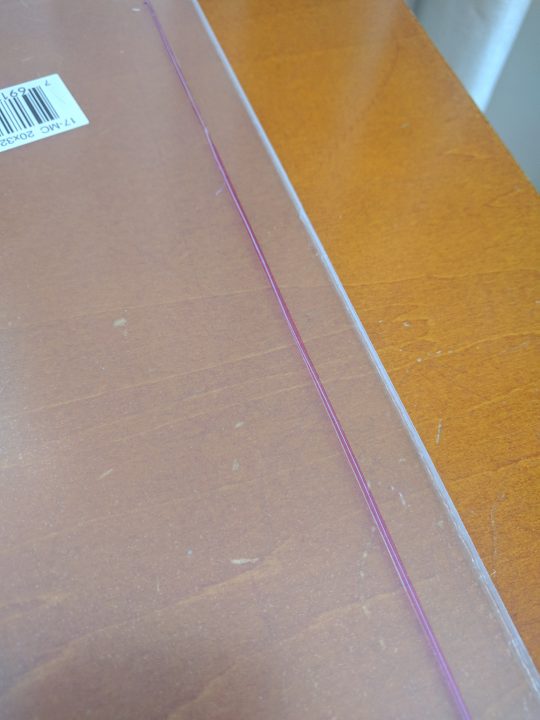
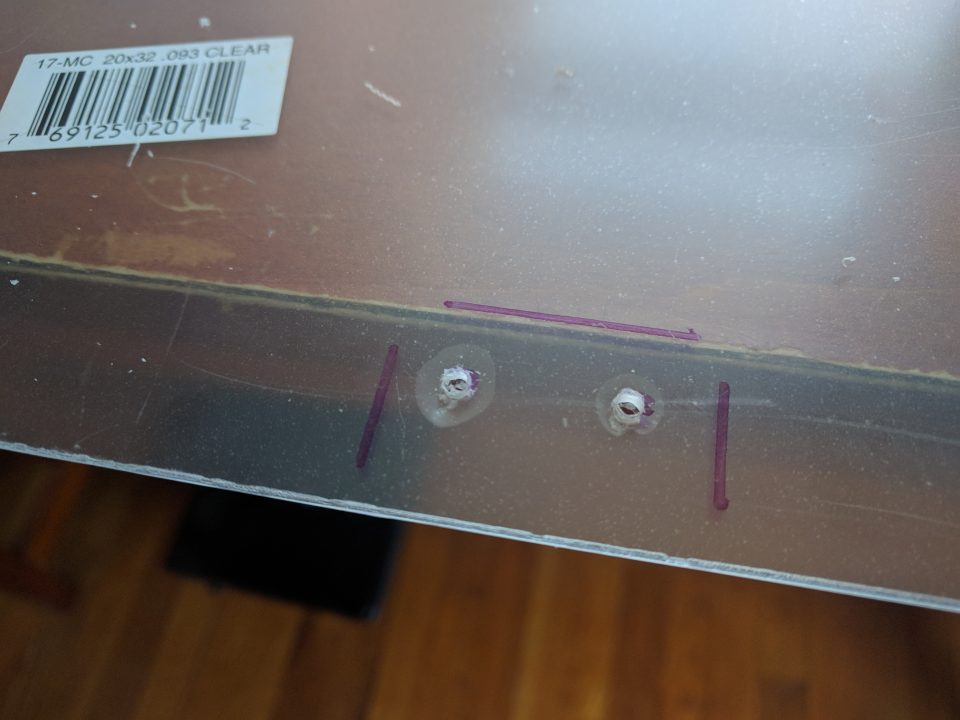
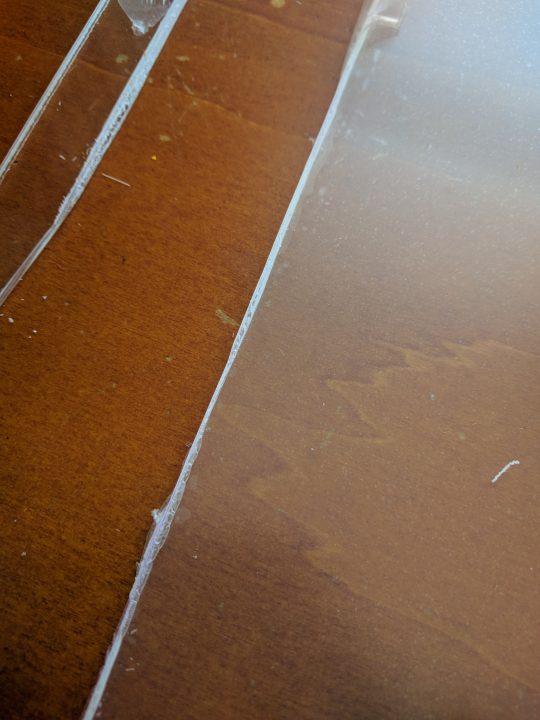
Here I tested the blade I had to see just how well it’d cut, so I could avoid ruining this moderately expensive pieceSo close to perfect size but nope, gotta be cut😀Wish that was smoother, but it’s not bad and not very noticeable installed.I needed a spacer made so that the door (when closed) would sit flush with the side walls. This was modeled in relatively easy.I do love hot glue (sadly some popped off later… replaced with superglue the ones that did)
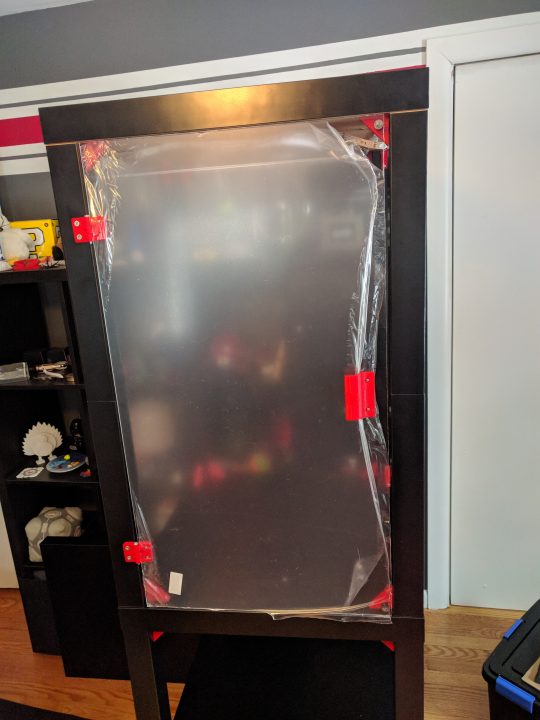
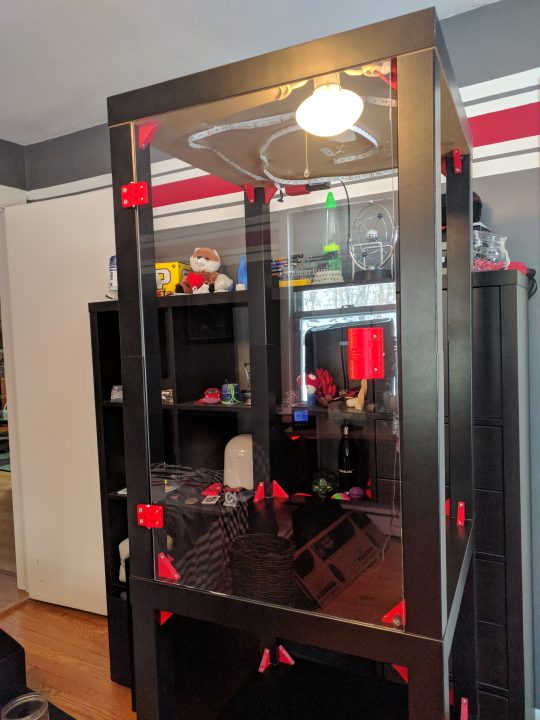
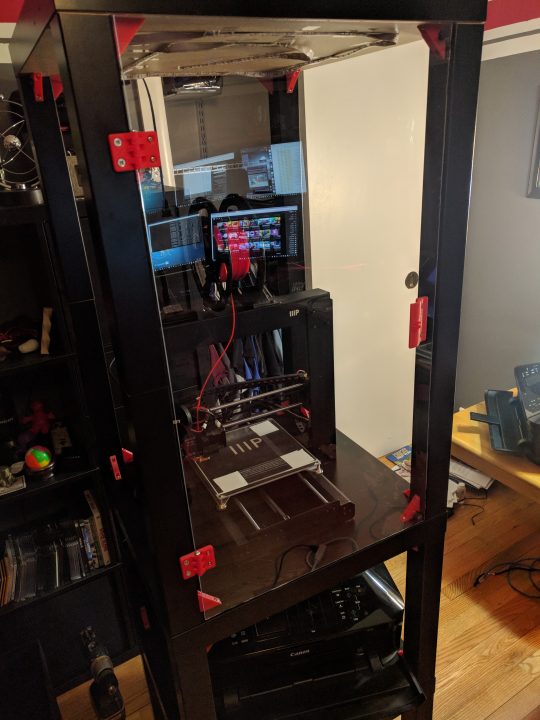
Hinges work surprisingly smooth and work better than I expected.
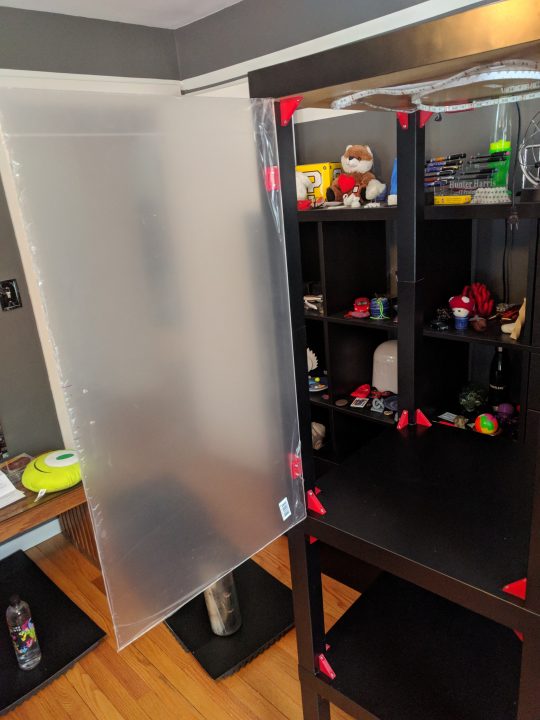
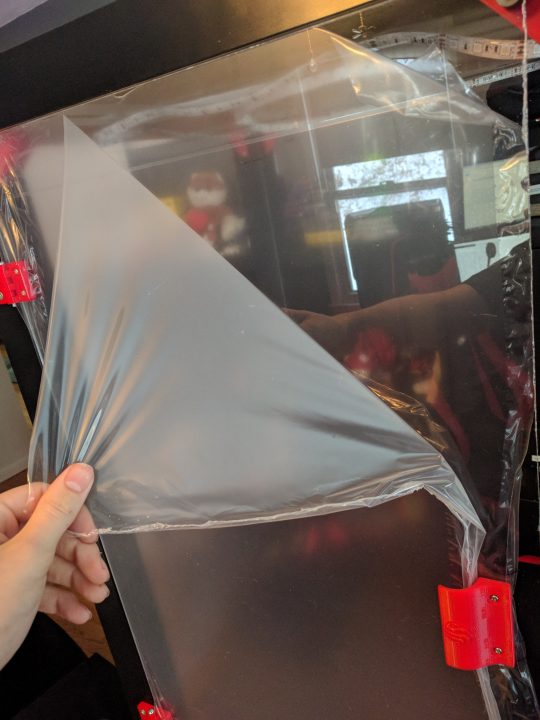
I modded a handle I found online to have my logo 🙂Coming together!The peel was very satisfyingVery pleasing 😀
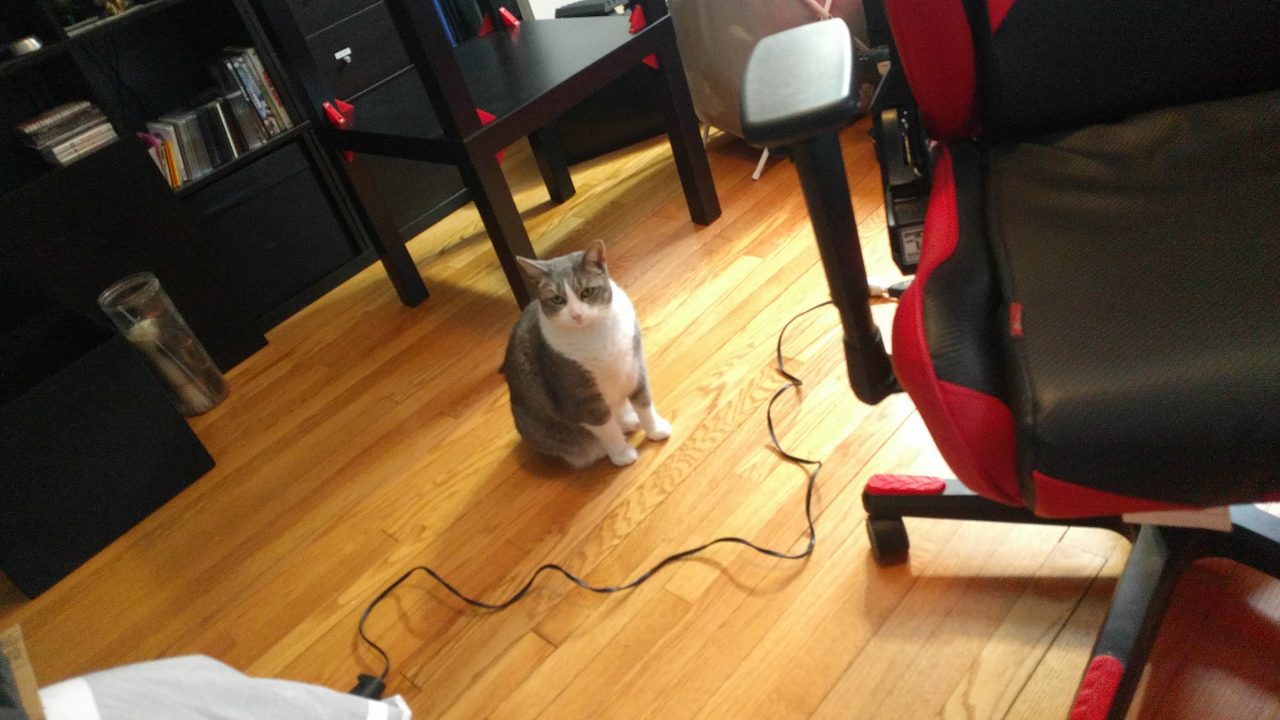
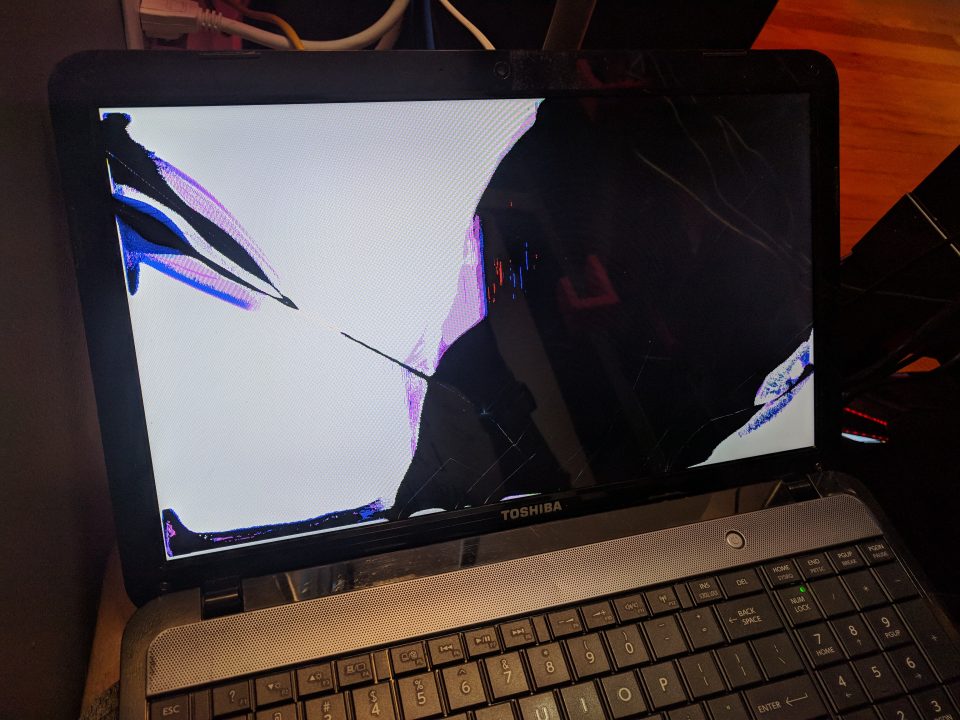
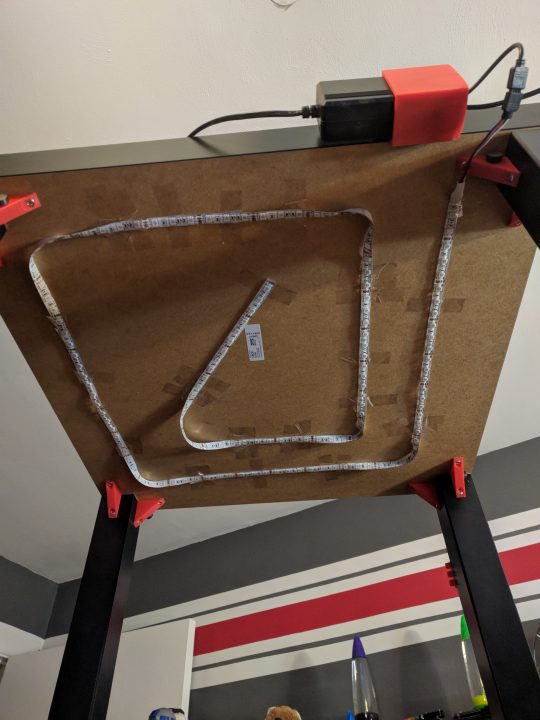
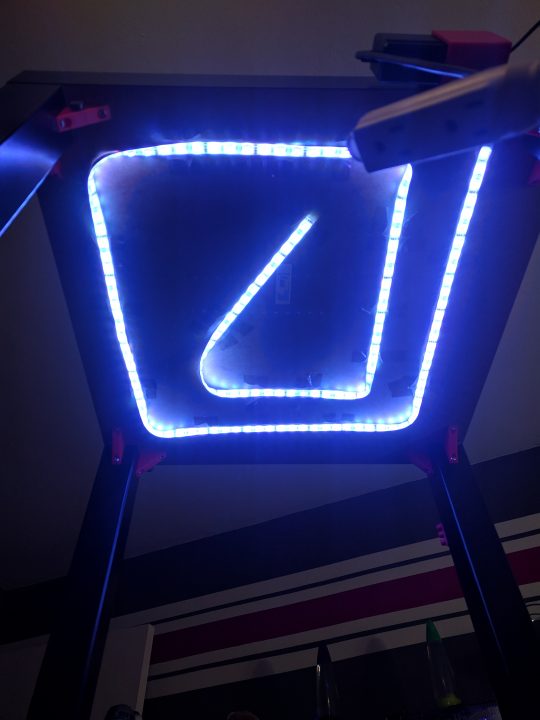
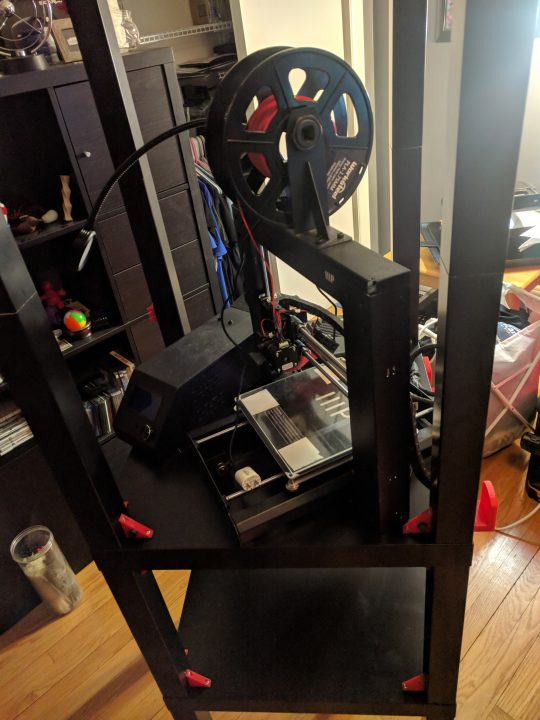
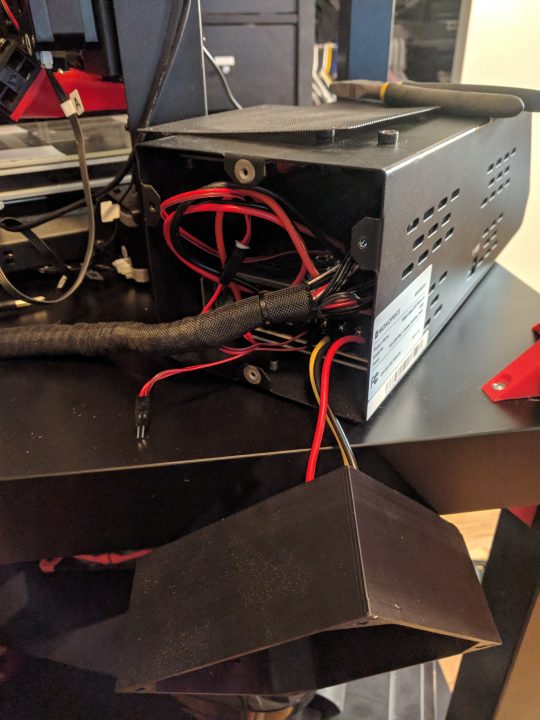
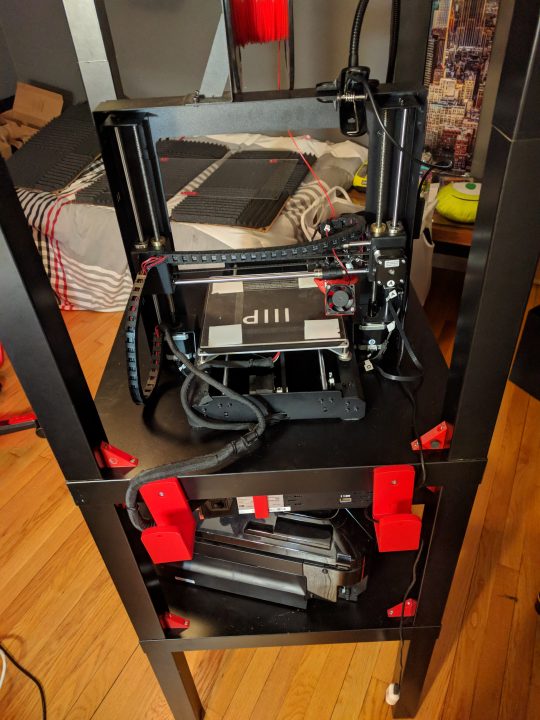
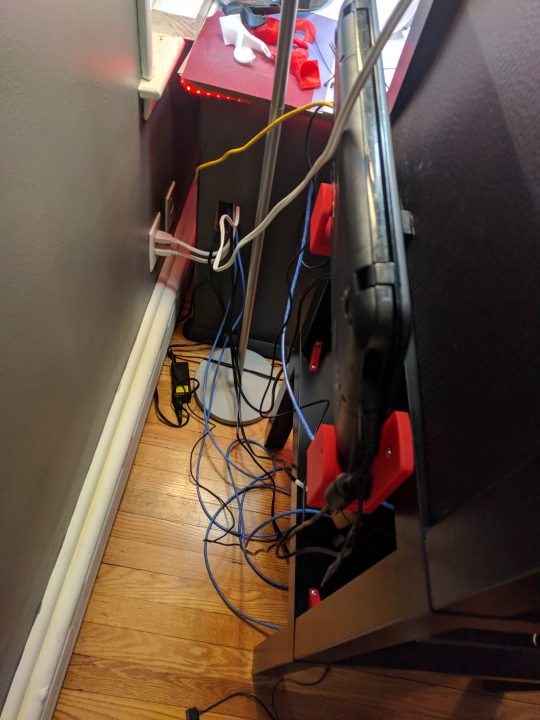
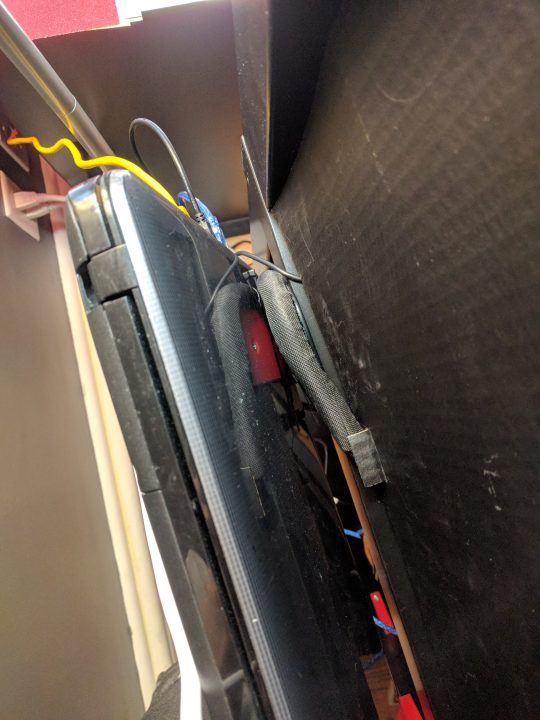
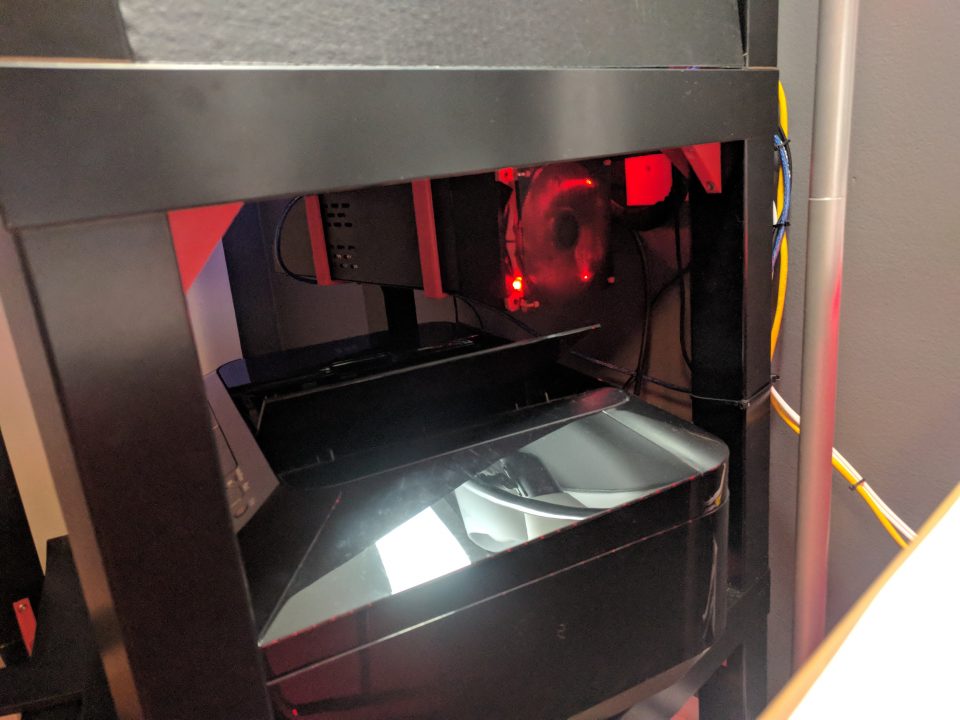
It’s even cat approved!I have a spare laptop with a busted screen that became my Octoprint laptop, so I made hooks for it to hang off the back out of sight and run the printer.Yeah not exactly usable. Needed to install Ubuntu on another machine and move the hard drive over. Now it’s managed over SSH and isn’t an issue.Added some RGB lighting strips I had leftover. Didn’t really know a better way to do this, and I don’t love it, but it works. Suggestions in comments welcome!Looks kinda blue, but in real life, it’s reasonably whiteFixes the dark issue caused by the panels for sure (actually an old pic, this was to test the layout, looks better in later pics)Test fitting the printer inYikes. That’s only a few months. Good thing I added the filter when I added the custom red LED fan (for quietness and style)Whoops. Had to flip the cover because it sticks upward. It’s now mounted underneath the table so I need the protrusion facing down now.
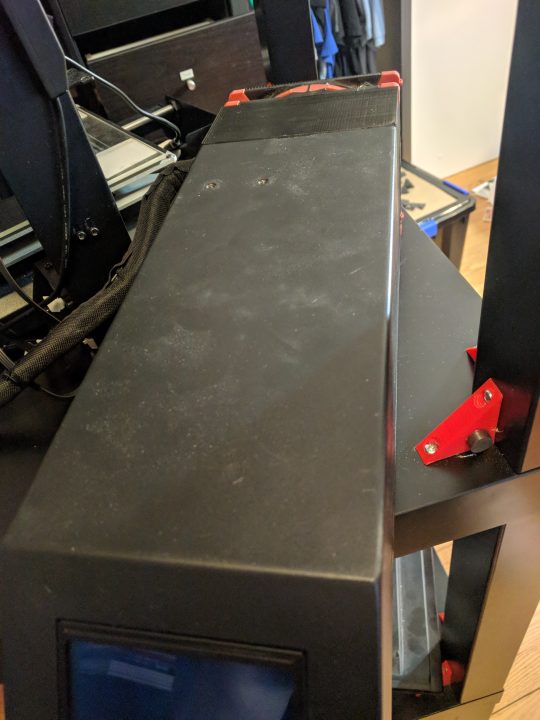
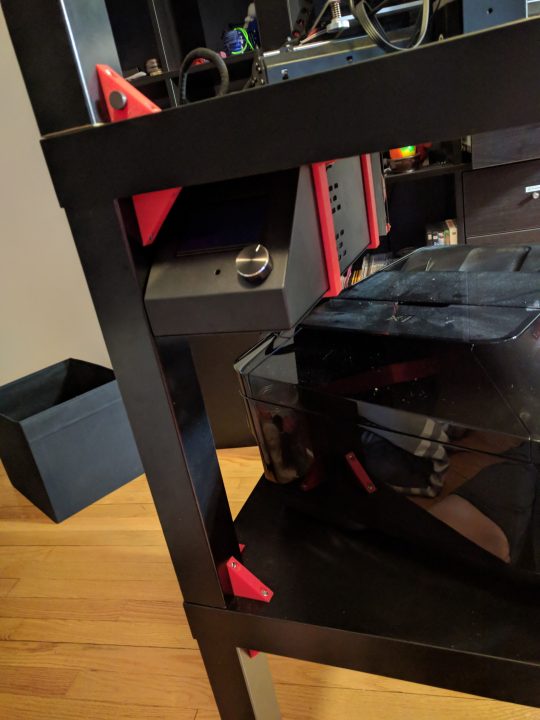
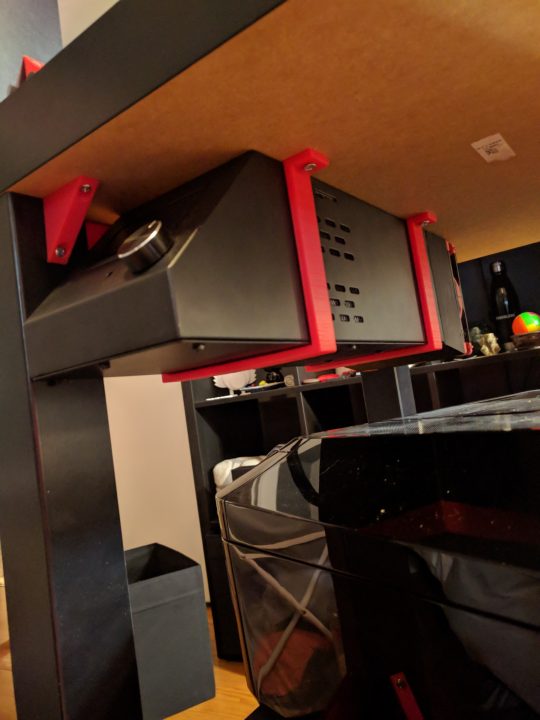
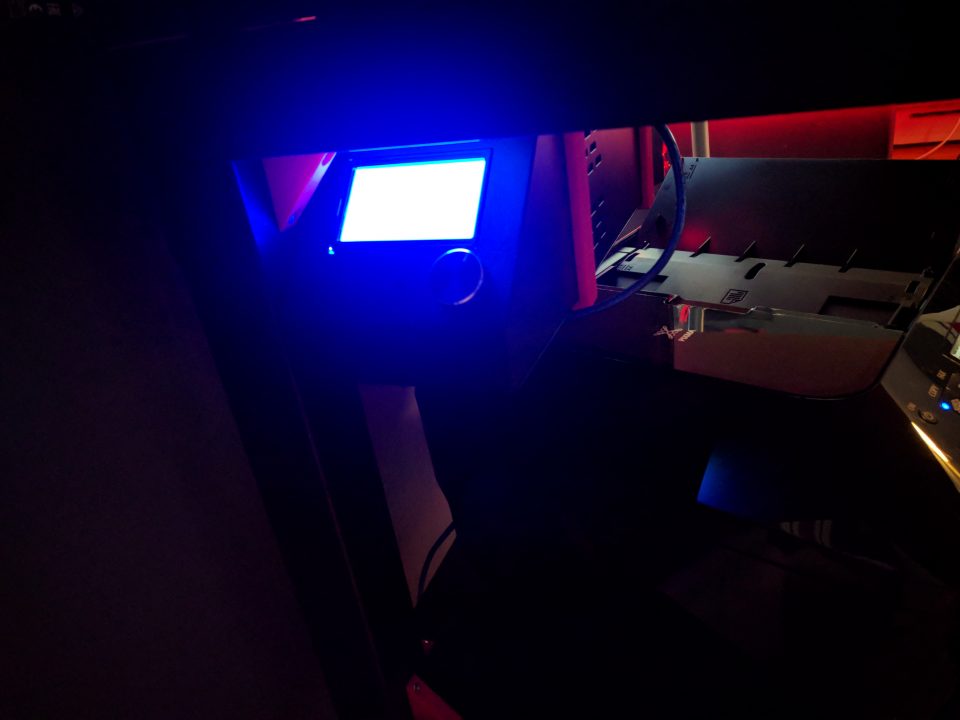
Accessible from the left side is the controller tucked up underneath
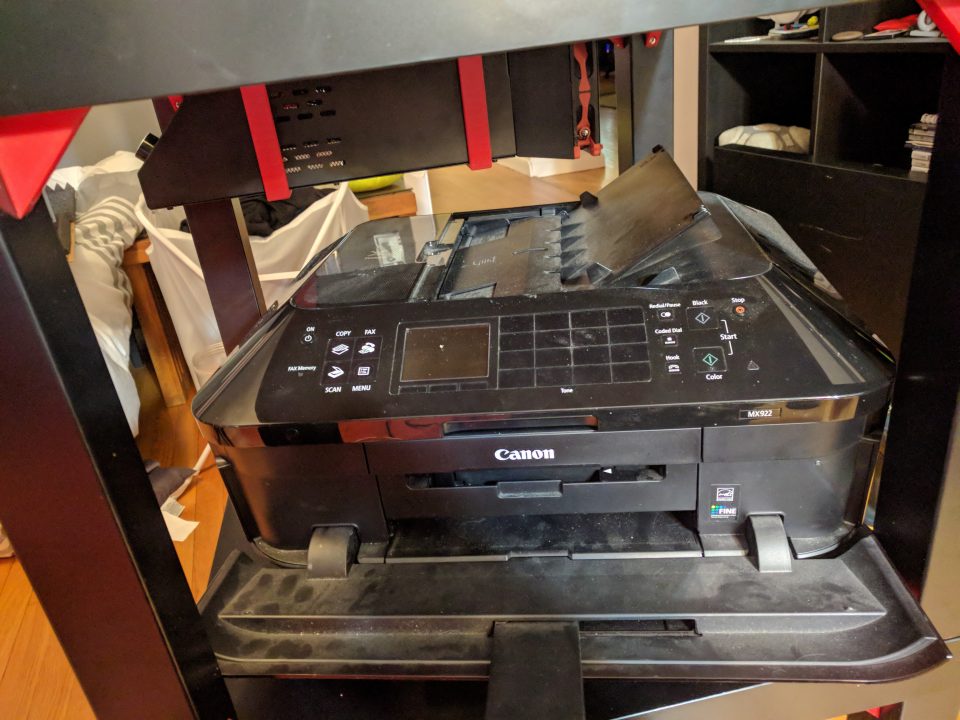
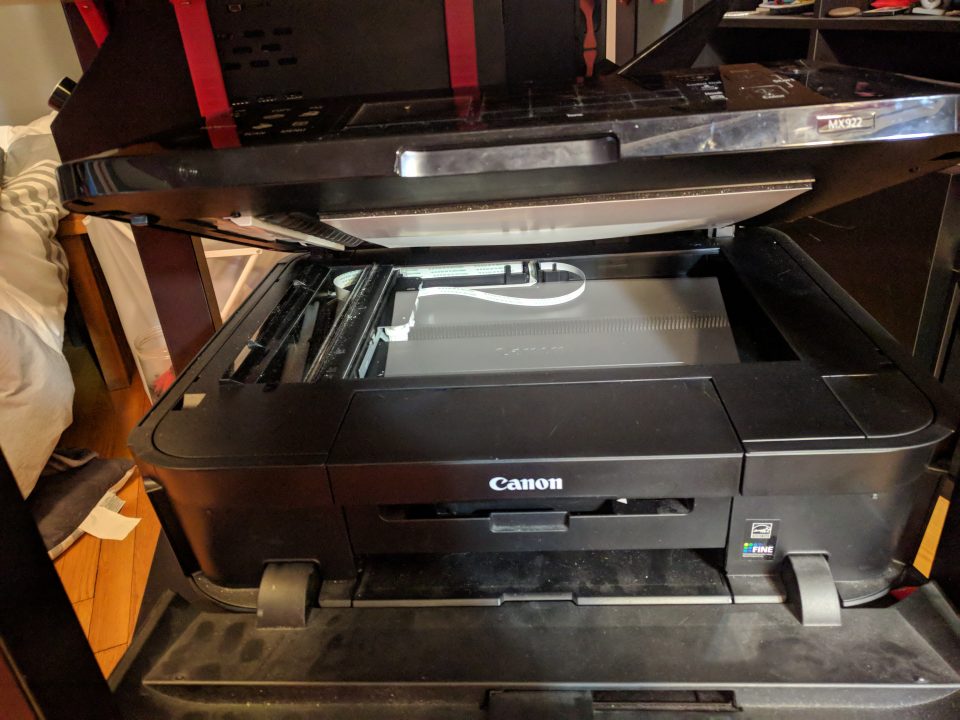
A bit of a downside is that this printer hits the control box when it’s opened. It also has to sit sideways for the front to be able to open up. Oh well.And yes, I did clean it laterHorray for things fitting!I kept my USB desk lamp for better brightness around where it matters
Needed to make a cable cutout 😛Works though!
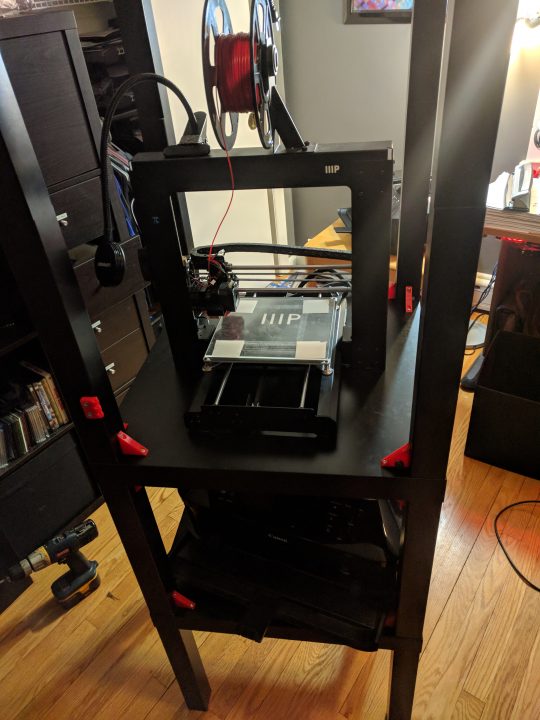
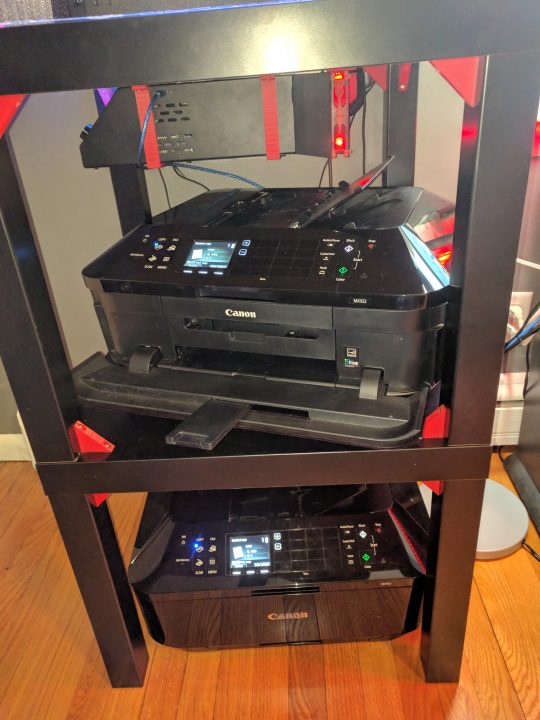
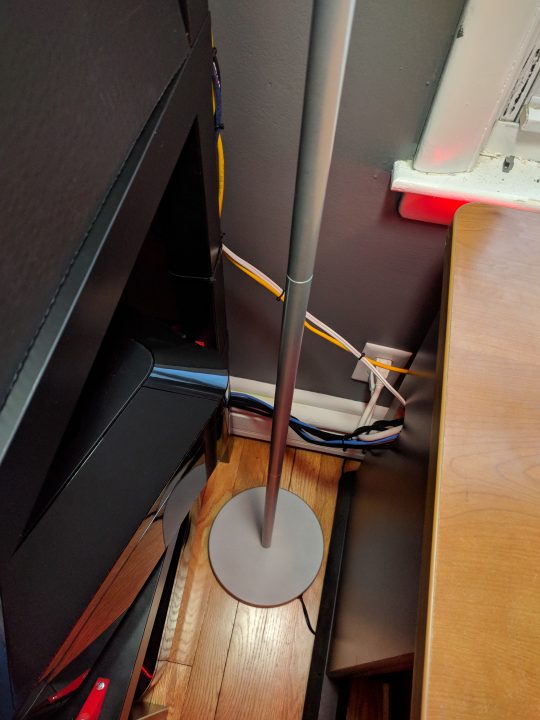
Yay!Looking happy in its snug little box. My webcam is also positioned for watching from my desk since it is no longer right next to me.The printers are happy tooAccessible if needed but mostly ignored and Octoprint is used insteadA view from the other sideZip tied cables up a bit for a cleaner look
And that’s it! Feel free to comment below if I missed any crucial details, if you’re making something similar, have any questions, or want to see anything else. This was quite fun to build and should serve me well for quite a while! 🙂
Hi,
I like the way you showed the process of forming the idea. Thanks for that I followed the links you provided, even watched some remixes of these links and watched your website. The more you see, the more you want to get it perfect. I hope you still remember why you did some things with this enclosure.
First I’d like to know whether you’ve used the 44x44mm wooden beam as shown in one of the youtube videos you provided. I think you did not, please tell me why, was there any problem with that ? The feet are hollow and the board carton table top is not the most sturdy thing, that’s why you made the triangle brackets to it.
Second, I cannot get to your spreadsheet because you removed it, some things in there were interesting to see, I tried to watch the homedepot site but they seem to have some problems with the website. There are many sizes in magnets, please tell which size you used.
Third, why did you make the hinges the way you did and not integrated in the lack feet?
Fourth, On the pictures I see the dirty filter but not the place you installed it, do you have a picture of that?
By the way I tried to get into contact with you over thingiverse but when the message was written it said token expired, maybe they do something about that in future.
Regards
Paul
Hi,
Thanks for your comment. I’d be happy to answer your questions.
As for the wood beam, which video was that from? My guess was due to not having proper woodworking tools but I’d need to see exactly where it was to give you a better answer. The whole thing isn’t the most stable but it is plenty stable to be workable, although I’m sure you could strengthen it with wood. The foam/cardboard sides especially would benefit from wood as that’d solve the warping issue and could look better.
I’ve fixed the link to the spreadsheet. I noticed that a while back and it’s been on my todo list to fix, but since no one asked, it wasn’t very high. I’ve since fixed it now.
The home depot link should be in the spreadsheet and work now, but if not then I used “0.3 in. x 0.11 in. Neodymium Rare-Earth Magnet Discs” although it doesn’t really matter what you use. If anything, they were a bit small perhaps and tended to come unglued.
Not sure what you mean about the hinges being integrated into the feet. I made them that way because it was simplest for me anyway.
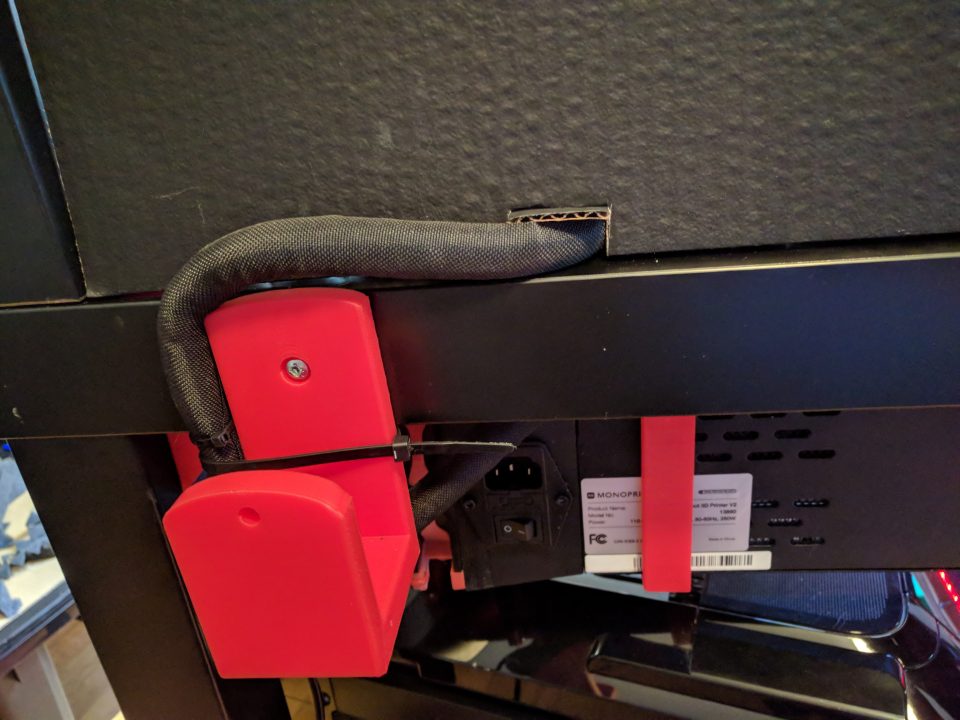
The filter is on a custom rear bracket for the printer to accommodate a 120mm fan. I unfortunately didn’t save exactly which one but this does look like it.
Not sure what’s up with Thingiverse. They always seem to have some issue or another. I’ll make sure there’s nothing blocked in my profile or anything.
Hope that helps!


Hi,
I like the way you showed the process of forming the idea. Thanks for that I followed the links you provided, even watched some remixes of these links and watched your website. The more you see, the more you want to get it perfect. I hope you still remember why you did some things with this enclosure.
First I’d like to know whether you’ve used the 44x44mm wooden beam as shown in one of the youtube videos you provided. I think you did not, please tell me why, was there any problem with that ? The feet are hollow and the board carton table top is not the most sturdy thing, that’s why you made the triangle brackets to it.
Second, I cannot get to your spreadsheet because you removed it, some things in there were interesting to see, I tried to watch the homedepot site but they seem to have some problems with the website. There are many sizes in magnets, please tell which size you used.
Third, why did you make the hinges the way you did and not integrated in the lack feet?
Fourth, On the pictures I see the dirty filter but not the place you installed it, do you have a picture of that?
By the way I tried to get into contact with you over thingiverse but when the message was written it said token expired, maybe they do something about that in future.
Regards
Paul
Hi,
Thanks for your comment. I’d be happy to answer your questions.
As for the wood beam, which video was that from? My guess was due to not having proper woodworking tools but I’d need to see exactly where it was to give you a better answer. The whole thing isn’t the most stable but it is plenty stable to be workable, although I’m sure you could strengthen it with wood. The foam/cardboard sides especially would benefit from wood as that’d solve the warping issue and could look better.
I’ve fixed the link to the spreadsheet. I noticed that a while back and it’s been on my todo list to fix, but since no one asked, it wasn’t very high. I’ve since fixed it now.
The home depot link should be in the spreadsheet and work now, but if not then I used “0.3 in. x 0.11 in. Neodymium Rare-Earth Magnet Discs” although it doesn’t really matter what you use. If anything, they were a bit small perhaps and tended to come unglued.
Not sure what you mean about the hinges being integrated into the feet. I made them that way because it was simplest for me anyway.
The filter is on a custom rear bracket for the printer to accommodate a 120mm fan. I unfortunately didn’t save exactly which one but this does look like it.
Not sure what’s up with Thingiverse. They always seem to have some issue or another. I’ll make sure there’s nothing blocked in my profile or anything.
Hope that helps!